Introduction and Key Insights
Bread has been a staple food in many cultures for centuries, and one beloved variety is *Amish White Bread*. This delightful recipe offers a perfect balance of softness and flavor that makes it ideal for sandwiches or simply enjoying fresh out of the oven. The beauty of making Amish white bread lies in its simplicity; with just a few basic ingredients, you can create a loaf that rivals any bakery’s offering. In this article, we’ll walk you through the process of crafting your own homemade Amish white bread from start to finish.
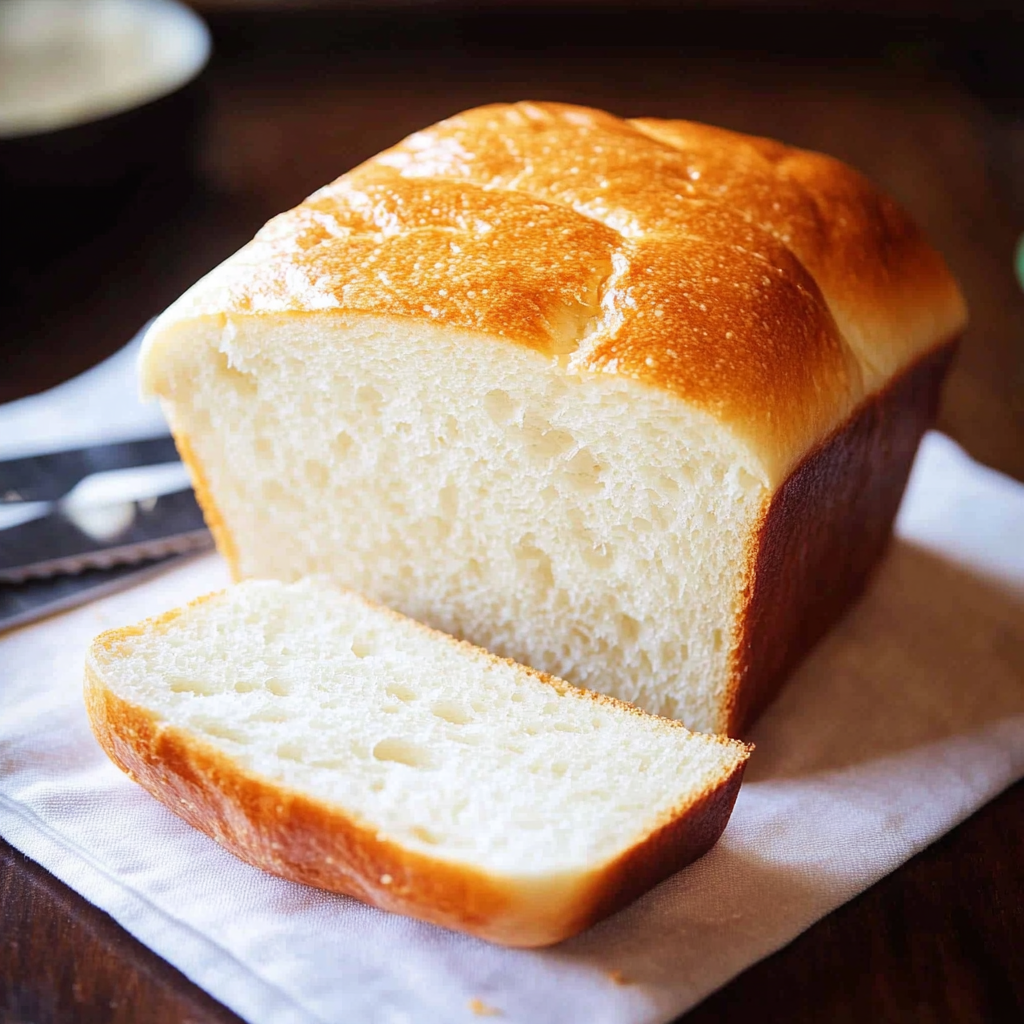
Not only will you learn about the essential ingredients required, but you’ll also receive detailed step-by-step instructions to ensure your baking experience is both fun and successful. Whether you are a seasoned baker or trying your hand at bread-making for the first time, this recipe provides an excellent introduction to the art of baking. Join us as we explore how to create this deliciously soft and fluffy loaf that will leave your family asking for seconds.
Ingredients Overview for Amish White Bread
Flour
Flour serves as the foundation of any great bread recipe. For Amish white bread, you’ll need 5 to 6 cups of all-purpose flour. This type of flour contains moderate protein levels that help create a tender crumb while still providing structure. When measuring flour, it’s crucial to spoon it into your measuring cup and level it off for accuracy. Using too much flour can lead to dense bread.
Sugar
Sugar is not just a sweetener; it plays multiple roles in our Amish white bread recipe. You will need 1/4 cup of granulated sugar. It helps feed the yeast during fermentation, creating carbon dioxide bubbles that make the dough rise beautifully. Additionally, sugar contributes to browning the crust when baked, resulting in a golden exterior that’s hard to resist.
Yeast
Yeast is the magical ingredient that causes our dough to rise. For this recipe, use 2 tablespoons of active dry yeast or instant yeast. If using active dry yeast, allow it to bloom in warm water before mixing with other ingredients; instant yeast can be added directly into the flour mixture without proofing first.
Salt
Salt enhances flavor but also strengthens gluten structure in our dough. You will require 1 tablespoon of salt. It’s important not to skip this ingredient because it balances out the sweetness from sugar and improves the overall taste of the finished loaf.
Water
Water is crucial for hydrating our dry ingredients and activating yeast. Use about 2 cups of warm water (between 105°F and 115°F). Too hot water can kill yeast while too cold can slow down its activity; finding that perfect temperature ensures optimal rising.
Butter
Butter adds richness and moisture to our Amish white bread. You will need 1/4 cup (or half a stick) of unsalted butter at room temperature for this recipe. The butter helps achieve a soft texture while also contributing flavor that makes each slice irresistible.
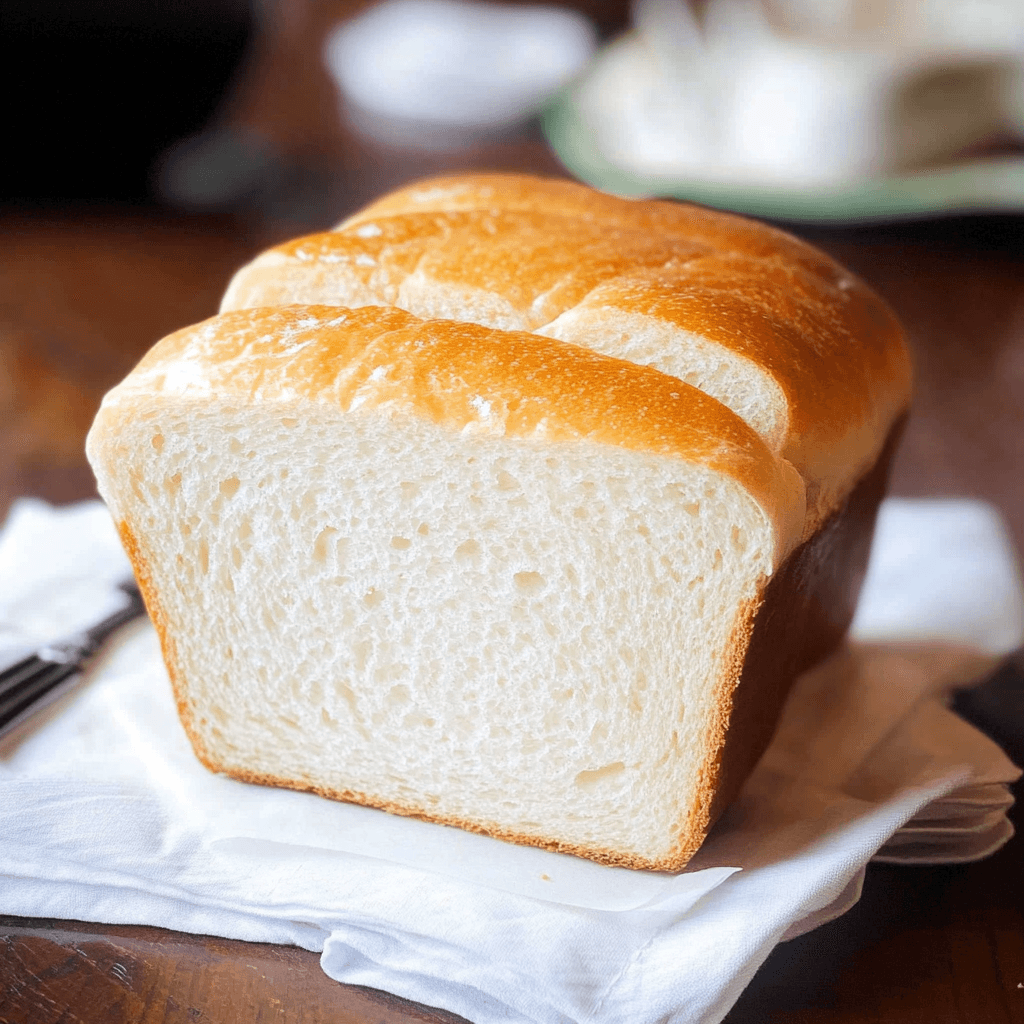
How to Prepare Amish White Bread
Step 1: Prepare Your Ingredients
Before diving into mixing ingredients, gather all necessary items like measuring cups and spoons, mixing bowls, and baking pans. Have your flour measured out along with other ingredients on hand so you can work efficiently without interruption.
Step 2: Activate Your Yeast
In a small bowl or measuring cup, combine warm water with a tablespoon of sugar and sprinkle the yeast over top. Allow it to sit undisturbed for about five minutes until foamy—this step shows that your yeast is alive and ready to work its magic in your dough.
Step 3: Mix Dry Ingredients
In a large mixing bowl or stand mixer fitted with a dough hook attachment, combine four cups of flour with salt and remaining sugar. Mix these dry ingredients well before adding any wet components; this ensures even distribution throughout your dough.
Step 4: Combine Wet Ingredients
Once your yeast mixture is frothy from activation, pour it into the bowl containing dry ingredients along with melted butter (cooled slightly). Begin mixing on low speed until everything starts coming together into a sticky mass.
Step 5: Knead Your Dough
Add additional flour gradually—about half a cup at a time—until you achieve a smooth dough consistency that pulls away from sides of bowl easily (about eight minutes). If kneading by hand instead of machine knead vigorously on lightly floured surface until elastic—a sign gluten has developed properly.
Step 6: First Rise
Form dough into ball shape then place inside greased bowl covering tightly with plastic wrap or damp cloth; let rise in warm area until doubled in size (approximately one hour). This allows gases produced by activated yeast expand creating airy pockets throughout mixture.
Step 7: Shape Loaf
After first rise completes punch down dough gently expelling excess air before dividing into two equal pieces if making two loaves (for larger batches skip dividing). Shape each portion into rectangular form by flattening gently rolling tightly starting from short end—seal edges firmly ensuring no air pockets remain within loaf itself.
Step 8: Second Rise
Place shaped loaves seam-side down inside greased loaf pans allowing room for further expansion during second rise (about thirty minutes). Cover again loosely while rising so moisture doesn’t escape drying out exterior crust unnecessarily.
Step 9: Bake Bread
Preheat oven at three hundred seventy-five degrees Fahrenheit shortly after placing shaped loaves inside pans—this ensures proper baking temperature reached when ready. Bake approximately thirty-five minutes until golden brown crust forms tapping bottom yields hollow sound indicating done-ness.
Serving and Storing Tips
Serving Suggestions
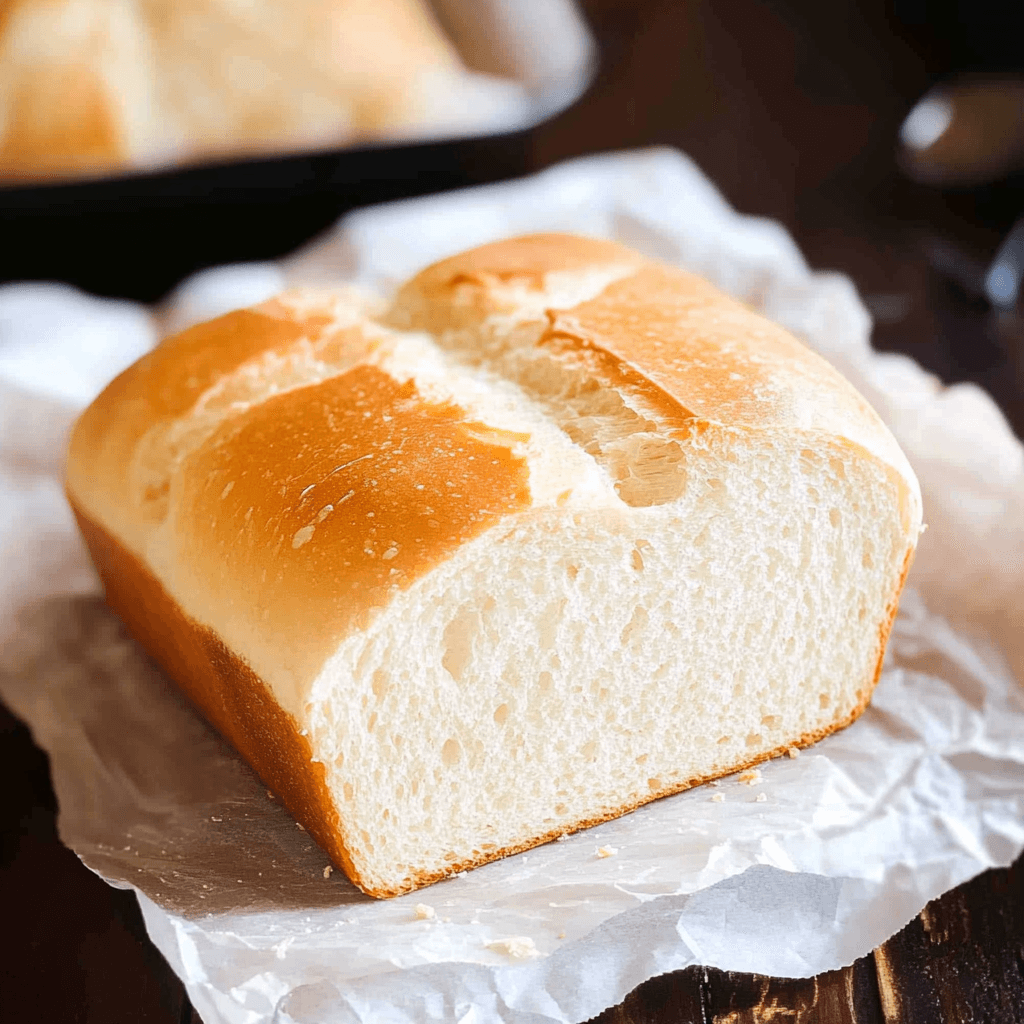
Amish white bread shines best when served fresh out-of-the-oven still warm. Slice thick pieces serve alongside creamy butter preserves honey drizzle—perfect breakfast treat. Alternatively use slices sandwich meats cheeses veggies create hearty lunchtime options satisfying both kids adults alike. Customize toppings based on personal preferences enhancing flavors complimenting soft texture nicely.
Storage Guidelines
To maintain freshness longer store leftover cooled loaves wrapped tightly plastic wrap aluminum foil airtight container—this prevents staling keeps moisture intact. If expecting not consume within few days consider freezing portions separately—simply thaw overnight refrigerator reheat oven toaster prior serving restoring deliciousness once more. Proper storage ensures enjoyment extends beyond initial bake day maximizing deliciousness every bite.
Mistakes to avoid
When making Amish White Bread, avoiding common mistakes will significantly improve your baking experience. One major mistake is not measuring ingredients accurately. Even a slight variation can lead to dough that doesn’t rise properly or bread that turns out dense. Use a kitchen scale for precision, especially when measuring flour.
Another mistake is neglecting to proof the yeast correctly. If your yeast is expired or not activated, your bread won’t rise. Always check the expiration date and proof the yeast in warm water with a bit of sugar for about 5-10 minutes before mixing it into your dough.
Over-kneading is another pitfall many bakers face. While kneading helps develop gluten, too much kneading can make the bread tough. Aim for a smooth, elastic texture without overdoing it—about 8-10 minutes by hand or 5-7 minutes using a stand mixer should suffice.
Not allowing enough time for the dough to rise is also a common error. Patience is key in bread-making; skipping this step leads to flat or dense loaves. Ensure that you let the dough double in size during both the first and second rises for optimal texture and flavor.
Lastly, consider your baking temperature and time. Many ovens can be off by several degrees, affecting how evenly your bread cooks. A kitchen thermometer can help ensure you’re baking at the correct temperature of around 350°F (175°C). Keep an eye on your bread toward the end of the baking time; it should be golden brown and sound hollow when tapped on the bottom.
Tips and tricks
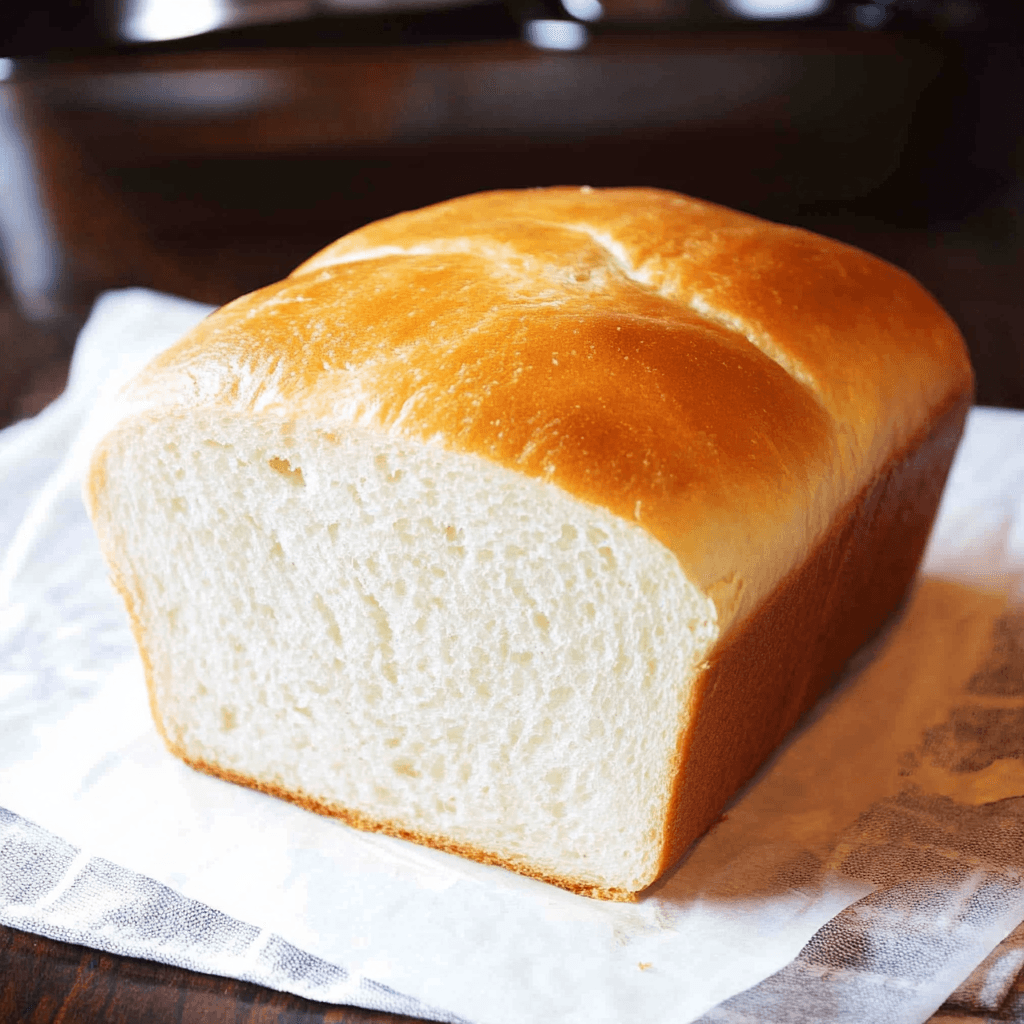
To achieve perfect Amish White Bread, follow these essential tips and tricks. First, always use fresh ingredients. Fresh flour and active yeast are crucial for achieving that light, airy texture characteristic of great bread. Store your flour in a cool, dry place to maintain its freshness.
Next, consider using room-temperature ingredients when mixing your dough. Cold butter or eggs can slow down yeast activity, impacting the rise of your bread. Allow these ingredients to sit out for at least 30 minutes before starting.
Incorporating steam into your baking process enhances crust formation. Place a pan filled with water on the bottom rack of your oven while preheating it. The steam creates a moist environment that helps develop a crispy exterior on your Amish White Bread.
Another valuable tip is to shape your dough properly before the second rise. Gently pat it down after the first rise and fold it into itself to release air bubbles before forming it into a loaf shape. This shaping technique promotes even rising and results in uniform slices.
Finally, don’t skip cooling time after baking. Letting your bread cool completely on a wire rack allows steam to escape and prevents sogginess. Cutting into warm bread might be tempting but wait at least an hour for optimal texture and flavor development.
Suggestions for Amish White Bread
To elevate your Amish White Bread recipe, consider incorporating various suggestions for added flavor and texture. One excellent way to enhance taste is by adding herbs or spices directly into the dough. A teaspoon of garlic powder or dried rosemary can provide delicious undertones without overwhelming the classic taste of white bread.
Experimenting with different flours can also yield interesting results while staying true to tradition. Mixing all-purpose flour with whole wheat flour will give your bread more nutrients while still maintaining softness. Aim for a ratio of three parts all-purpose to one part whole wheat for balanced flavor.
Incorporating seeds into your dough offers both crunch and nutritional benefits. Sunflower seeds or flaxseeds work wonderfully mixed into the dough or sprinkled on top before baking for added visual appeal as well as texture contrast.
For those who enjoy sweetness in their bread, consider adding honey or maple syrup instead of sugar in your recipe. These natural sweeteners provide depth of flavor while keeping the loaf moist and giving it a delightful aroma.
Lastly, if you want an extra-rich flavor profile, try brushing melted butter over the top right after taking it out of the oven. This simple trick enhances both taste and appearance by giving your loaf a beautiful golden sheen while adding moisture locked inside.

FAQs
What makes Amish White Bread different from other types of bread?
Amish White Bread distinguishes itself through its soft texture and slightly sweet flavor profile compared to other white breads available commercially or homemade recipes like French baguettes or sourdoughs which tend towards crusty exteriors with tangy notes due to fermentation processes involved during preparation stages.
Can I use whole wheat flour instead of all-purpose flour?
Yes. You can certainly substitute some or all-purpose flour with whole wheat flour when making Amish White Bread; however keep in mind this may alter end result slightly by creating denser loaf due increased fiber content present within whole grain varieties compared traditional refined options typically utilized during baking processes associated specifically with recipes designed around producing lighter-textured baked goods such as this one.
How long does homemade Amish White Bread last?
Homemade Amish White Bread generally stays fresh at room temperature for about three to four days if stored properly—preferably wrapped tightly in plastic wrap—or placed inside airtight containers designed specifically hold baked goods safely without compromising quality over time.
Can I freeze leftover Amish White Bread?
Absolutely. Freezing leftover slices allows you preserve freshness beyond typical shelf life mentioned previously; just ensure each slice gets wrapped securely either individually (for ease serving later) or entire loaf stored within freezer bag labeled accordingly contents included plus date frozen—this way no question arises regarding how long has been sitting there.
Is there an alternative method for kneading if I don’t have a stand mixer?
If lacking access any stand mixers available today don’t worry. Kneading done successfully by hand just requires some extra effort but yields same satisfying results achieved otherwise; take about eight-ten minutes working dough consistently until smooth elastic consistency reached—this builds strength structure throughout final product ensuring successful rise during baking process itself.
What can I do if my bread doesn’t rise?
Should you encounter issue where loaf fails rise adequately despite following instructions carefully double-check factors such as freshness yeast used temperature water mixed activate prior combining rest ingredients together plus ensuring sufficient resting periods allowed between each phase including first second rises—if everything appears correct yet still flat perhaps next time try adjusting warmth surrounding environment where proving occurs usually warmer settings promote better results overall.
Conclusion
In summary, making delicious Amish White Bread requires attention to detail and avoiding common pitfalls that could derail your efforts. Start by ensuring precise measurements and focusing on proper yeast activation techniques while being mindful not to over-knead or rush rising times throughout process.
Additionally utilizing fresh ingredients contributes significantly towards achieving outstanding flavors textures desired from this recipe; remember experimenting subtly enhances experience too. With useful tips tricks shared here plus suggestions add variety enhance traditional approach ultimately leads delightful outcomes every time baked fresh home kitchen.
By following these guidelines along answering frequently asked questions about preparation storage resulting product ensures success future endeavors involving beloved Amish White Bread—happy baking everyone.
Print
Easy Amish White Bread Recipe
5 Stars 4 Stars 3 Stars 2 Stars 1 Star
No reviews
- Author: Clara Rosewood
- Total Time: 3 hours
- Yield: 1 loaf (about 10-12 slices) 1x
- Diet: Vegetarian
Description
Cinnamon Swirl Bread is a soft, fluffy bread with a rich, sweet swirl of cinnamon sugar baked into every slice. Perfect for breakfast, snacks, or dessert, this homemade bread is a delightful treat served plain, toasted, or with a smear of butter. Its irresistible aroma will fill your kitchen with warmth and coziness.
Ingredients
For the Dough:
- 3 1/4 cups all-purpose flour
- 1 packet (2 1/4 teaspoons) active dry yeast
- 1/4 cup granulated sugar
- 1 teaspoon salt
- 3/4 cup milk (warm, about 110°F/43°C)
- 1/4 cup unsalted butter, melted
- 2 large eggs
For the Cinnamon Swirl:
- 1/3 cup granulated sugar
- 1/3 cup brown sugar, packed
- 1 1/2 tablespoons ground cinnamon
- 2 tablespoons unsalted butter, softened
For Brushing:
- 1 tablespoon milk or melted butter (optional, for brushing before baking)
Instructions
- Activate the Yeast:
- In a small bowl, mix the warm milk and sugar. Sprinkle the yeast over the top and let it sit for 5–10 minutes until foamy.
- Make the Dough:
- In a large bowl, combine the flour and salt. Add the yeast mixture, melted butter, and eggs. Mix until a dough forms.
- Transfer the dough to a floured surface and knead for 8–10 minutes, or until smooth and elastic. Alternatively, use a stand mixer with a dough hook for about 5 minutes.
- Let the Dough Rise:
- Place the dough in a greased bowl, cover with a damp cloth, and let it rise in a warm place for about 1–1.5 hours, or until doubled in size.
- Prepare the Cinnamon Filling:
- In a small bowl, mix the granulated sugar, brown sugar, and cinnamon.
- Assemble the Bread:
- Punch down the risen dough and roll it out on a floured surface into a rectangle, about 9×18 inches.
- Spread the softened butter evenly over the dough, then sprinkle the cinnamon-sugar mixture on top, leaving a small border along the edges.
- Roll the dough tightly from the short side to form a log. Pinch the seam to seal and tuck the ends under.
- Second Rise:
- Place the rolled dough seam-side down into a greased 9×5-inch loaf pan. Cover loosely and let it rise again for about 30–45 minutes, or until it has risen slightly above the edge of the pan.
- Bake the Bread:
- Preheat the oven to 350°F (175°C). Brush the top of the loaf with milk or melted butter if desired.
- Bake for 35–40 minutes, or until the bread is golden brown and sounds hollow when tapped.
- Let the bread cool in the pan for 10 minutes, then transfer to a wire rack to cool completely.
- Serve and Enjoy:
- Slice and serve warm or at room temperature. Pair it with butter, cream cheese, or your favorite jam for a delicious treat.
Notes
- If desired, you can add raisins or chopped nuts to the cinnamon filling for added texture.
- Ensure the milk is warm but not hot when activating the yeast to avoid killing it.
- For a sweeter touch, drizzle a simple powdered sugar glaze over the cooled bread.
- Prep Time: 20 minutes (plus 2 hours rising time)
- Cook Time: 40 minutes
- Category: Breakfast, Dessert
- Method: Baking
- Cuisine: American

 Brown Sugar and Coconut Body Scrub Exfoliates

 Get The Product!