 Brown Sugar and Coconut Body Scrub Exfoliates
 Get The Product!
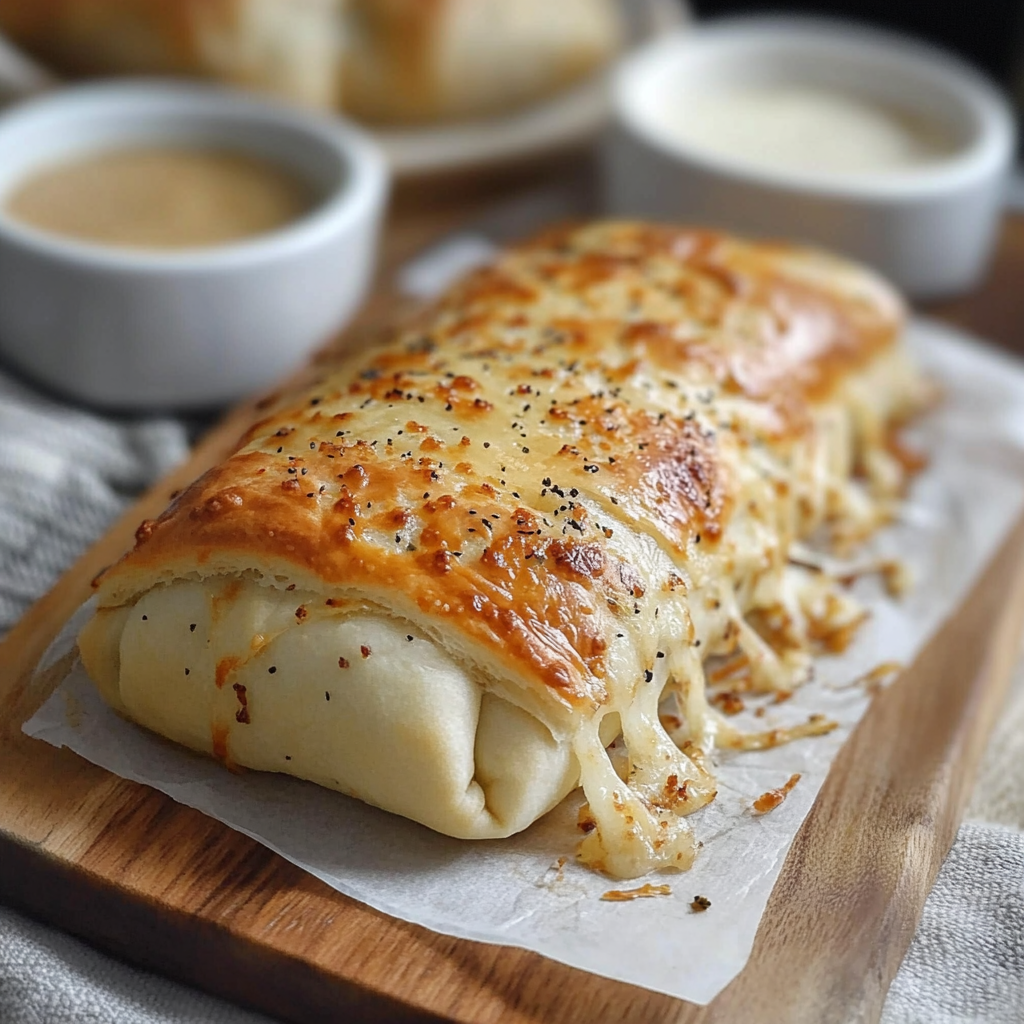
There’s something undeniably magical about biting into a warm, flaky pastry filled with cheesy goodness and savory fillings. Homemade Hot Pockets bring back memories of being a kid, waiting impatiently for that microwave beep to signal snack time. As the steamy aroma wafts through the kitchen, anticipation builds—who needs takeout when you can whip up these delicious pockets of joy from scratch?
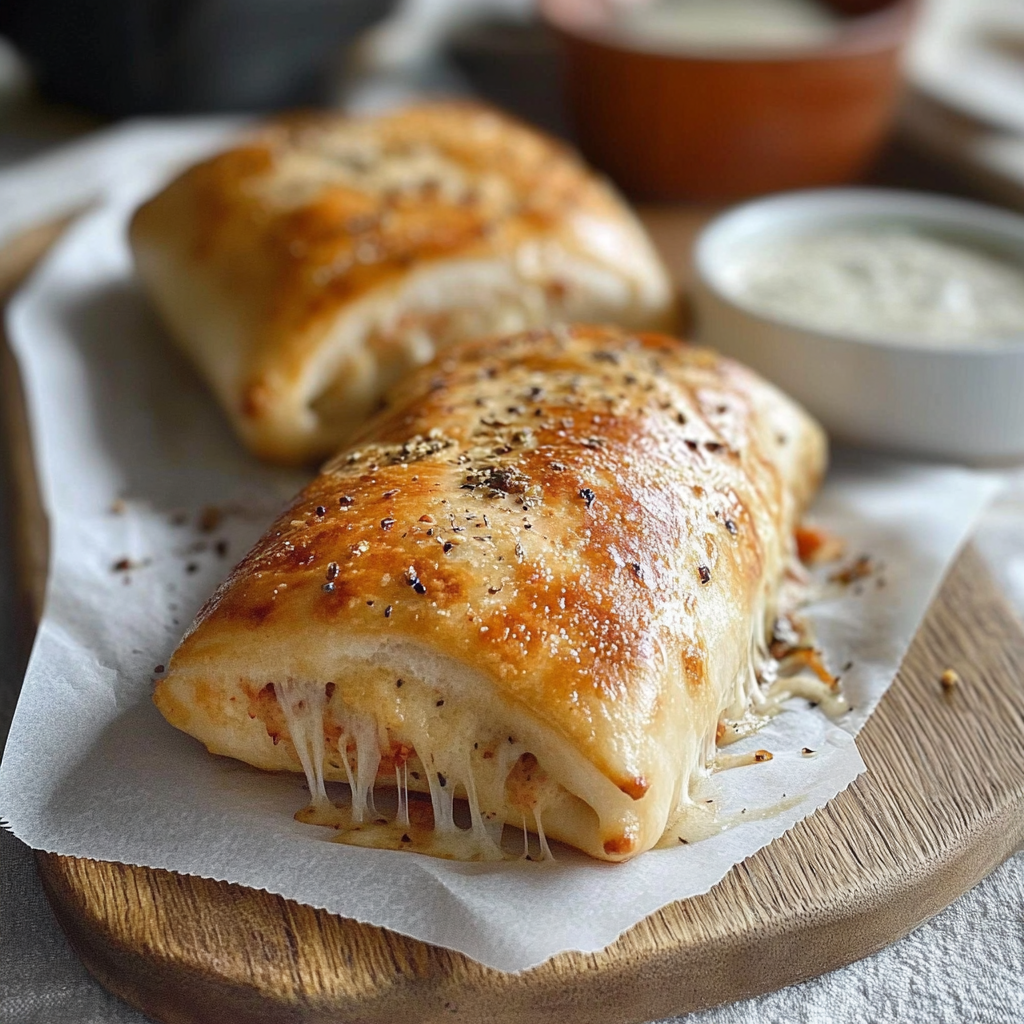
Picture this: It’s a chilly evening, and you’re wrapped in your favorite blanket, ready for some comfort food. These Homemade Hot Pockets are perfect for cozy nights in, movie marathons, or even as a fun party snack. With endless filling possibilities, they promise to be the hit of any gathering while bringing back fond memories of simpler times.
Why You'll Love This Recipe
- These Homemade Hot Pockets are super easy to prepare, making them perfect for busy weeknights
- The flavor combinations are limitless, allowing for creativity based on your cravings
- Their golden-brown crust is visually appealing and inviting for everyone at the table
- Plus, they’re great for meal prep and can be frozen for later enjoyment
I remember the first time I made these; my friends were so impressed they declared me “the culinary wizard” of our group.
Essential Ingredients
Here’s what you’ll need to make this delicious dish:
-
All-Purpose Flour: Use high-quality flour to achieve that perfect flaky crust.
-
Salt: A pinch enhances the overall flavor of the dough.
-
Butter: Cold butter gives the pastry its desired flakiness; don’t skip this!
-
Eggs: These will add richness and help bind your dough together beautifully.
-
Cheese: Choose your favorite cheese—mozzarella or cheddar work wonders!
-
Fillings: You can go with ham, veggies, or whatever tickles your taste buds—be adventurous!
For the Glaze:
-
Milk: Brush on top before baking for that gorgeous golden finish.
The full ingredients list, including measurements, is provided in the recipe card directly below.
How to Make Homemade Hot Pockets
Start by making the dough: In a large bowl, mix flour and salt together. Cut cold butter into small pieces and blend until you achieve a crumbly texture resembling sand.
Add eggs: Whisk two eggs in a separate bowl before adding them to your flour mixture. Stir until combined; this will create a pliable dough.
Chill the dough: Wrap the dough in plastic wrap and chill it in the refrigerator for at least 30 minutes. This step helps improve texture and makes it easier to roll out later.
Prepare fillings: While waiting for the dough to chill, gather your favorite fillings like cheese and meats. Mix them in a bowl with spices or herbs to kick things up a notch!
Roll out dough: Once chilled, roll out your dough on a floured surface until about 1/8 inch thick. Cut into squares or rectangles—size depends on how stuffed you want them!
Assemble hot pockets: Place your desired filling in the center of each square. Fold over one side and seal edges using a fork or by pinching them together tightly.
Preheat oven: Preheat your oven to 375°F (190°C) while preparing an egg wash with milk and remaining egg.
Bake those beauties: Brush each pocket with egg wash before placing them on a lined baking sheet. Bake for 20-25 minutes until golden brown and puffed up like little pastries of happiness!
Enjoy!: Once baked, let cool slightly before diving in! Serve warm with dipping sauces like marinara or ranch—your taste buds will thank you!
These Homemade Hot Pockets are not just easy to make; they’re also incredibly versatile! You can swap out fillings based on preferences or leftovers lurking in your fridge. The best part? They freeze beautifully! Make extra batches during meal prep days so you can grab one whenever hunger strikes! Enjoy experimenting with flavors—the only limit is your imagination (and maybe what’s left in your pantry).
So there you have it! Homemade Hot Pockets that are sure to impress family and friends alike while bringing nostalgia right back into play! Happy cooking!
You Must Know
- Homemade hot pockets are not only delicious but also customizable
- Experiment with fillings to suit your taste
- The aroma while baking will make your kitchen feel like a gourmet restaurant!
- These hand-held treats are perfect for busy days or as a fun snack
Perfecting the Cooking Process
Start by preheating your oven to 400°F (200°C). Prepare the filling while the dough rests. Roll out the dough, fill, and bake until golden brown for a perfectly crispy crust.
Add Your Touch
Feel free to swap traditional fillings with veggies, cheeses, or even leftover meats. Try adding spices or sauces to create a flavor explosion that suits your cravings.
Storing & Reheating
Store leftover hot pockets in an airtight container in the fridge for up to three days. Reheat in the oven at 350°F (175°C) for about 10-15 minutes for that fresh-out-of-the-oven taste.
Chef's Helpful Tips
- For perfect homemade hot pockets, let the dough rest before rolling it out
- Don’t overfill them; too much filling leads to messy results
- Always pinch the edges tightly to prevent leaks during baking
It was my cousin’s birthday when I first made these homemade hot pockets. Everyone loved them so much that they vanished quicker than my phone at family gatherings—truly a hit!
FAQ
Can I freeze homemade hot pockets?
Absolutely! Freeze them before baking for quick meals later on.
What types of fillings work best?
Almost anything! Try cheese, meats, veggies, or even sweet options like Nutella.
How do I know when they are done baking?
Look for a golden-brown crust and bubbling filling; that’s your cue they’re ready!

Homemade Hot Pockets
- Total Time: 55 minutes
- Yield: Approximately 6 servings 1x
Description
Homemade Hot Pockets are the ultimate comfort food, bringing together a flaky pastry crust and your choice of savory fillings. Perfect for chilly nights or gatherings, these hand-held delights can be customized with endless combinations to satisfy any craving. With a golden-brown exterior and deliciously warm interior, they’re sure to impress family and friends while evoking nostalgic memories. Ready to whip up your own batch? Let’s get started!
Ingredients
- 2 cups all-purpose flour
- 1/2 tsp salt
- 1/2 cup cold butter, cubed
- 2 large eggs
- 1 cup shredded cheese (mozzarella or cheddar)
- 1 cup assorted fillings (ham, veggies, etc.)
- 2 tbsp milk (for egg wash)
Instructions
- In a bowl, mix flour and salt. Cut in cold butter until crumbly.
- Whisk eggs separately; add to the flour mixture and mix until combined.
- Chill the dough in plastic wrap for at least 30 minutes.
- Prepare your filling by mixing cheese with desired ingredients.
- Roll out chilled dough on a floured surface to about 1/8 inch thick and cut into squares.
- Place filling in the center of each square, fold over, and seal edges with a fork.
- Preheat oven to 375°F (190°C). Brush pockets with egg wash made from remaining egg mixed with milk.
- Bake on a lined baking sheet for 20-25 minutes or until golden brown.
- Prep Time: 30 minutes
- Cook Time: 25 minutes
- Category: Snack
- Method: Baking
- Cuisine: American
Nutrition
- Serving Size: 1 serving
- Calories: 290
- Sugar: 1g
- Sodium: 350mg
- Fat: 16g
- Saturated Fat: 9g
- Unsaturated Fat: 6g
- Trans Fat: 0g
- Carbohydrates: 29g
- Fiber: 2g
- Protein: 7g
- Cholesterol: 60mg