Introduction and Key Insights
Sourdough bread has captured the hearts (and taste buds) of many baking enthusiasts around the world. This unique bread is renowned for its tangy flavor and chewy texture, which come from the natural fermentation process. Making sourdough bread at home can seem intimidating at first; however, with the right guidance and a bit of patience, you can achieve bakery-quality results in your own kitchen. In this article, we will walk you through everything you need to know about sourdough bread—from understanding the ingredients to mastering the preparation steps.
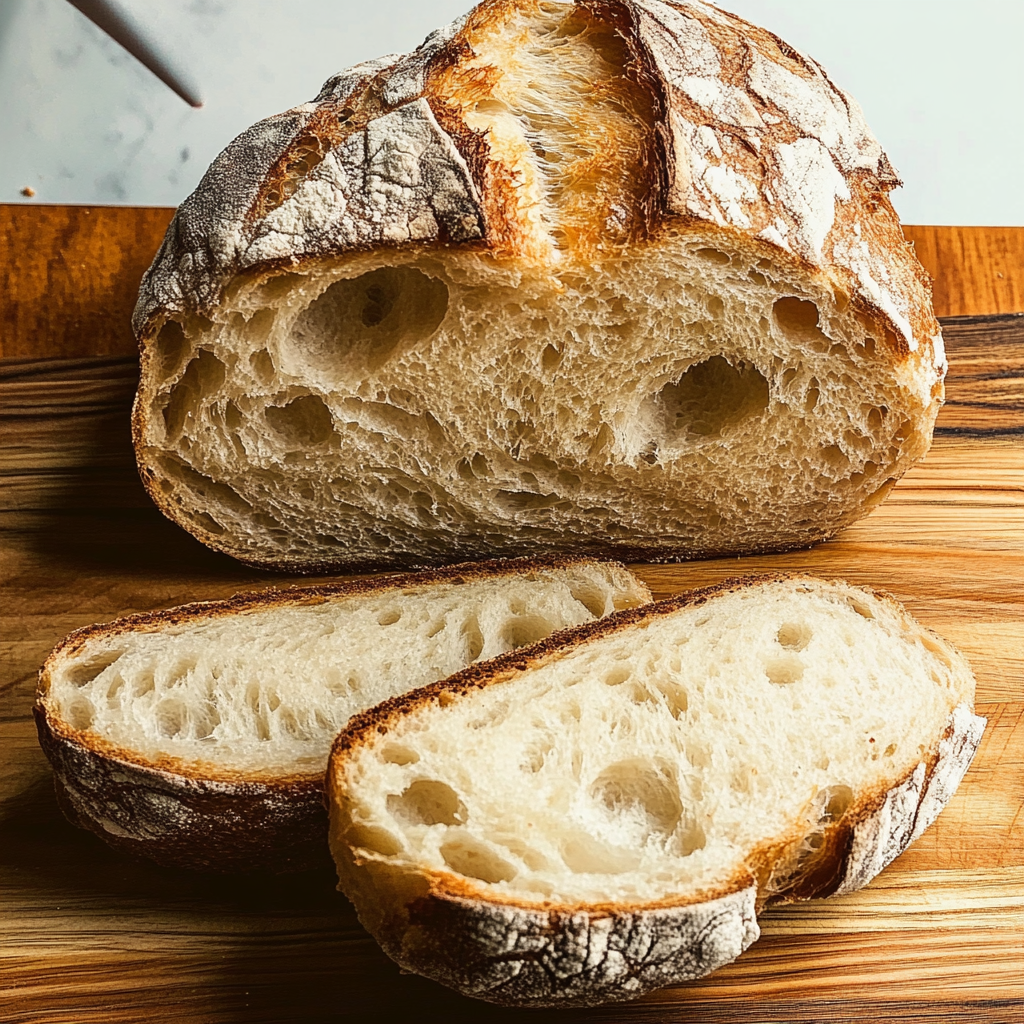
The beauty of sourdough lies not just in its flavor but also in its health benefits. The fermentation process breaks down gluten and phytic acid, making it easier for your body to digest the nutrients found in whole grains. Additionally, the probiotics developed during fermentation support gut health. Whether you’re looking to impress guests or simply enjoy a slice of freshly baked bread with your morning coffee, this guide equips you with all the knowledge you need to create your own artisanal sourdough loaf.
You will learn about essential ingredients that contribute to a successful bake as well as step-by-step instructions for preparing and baking your own sourdough bread. We’ll also provide useful serving and storing tips so that you can enjoy your creation at its best for days to come. So grab your apron and let’s dive into the world of sourdough.
Ingredients Overview for Sourdough Bread
Flour
Flour is the backbone of any good sourdough recipe. For our loaf, we recommend using high-quality all-purpose flour or a mix of all-purpose and whole wheat flour for added flavor and nutrition. The protein content in flour plays a significant role in gluten development; thus, look for flour with at least 11% protein content for optimal results. You will need about 500 grams of flour for this recipe.
Water
Water helps activate yeast and dissolve other ingredients. It is crucial for achieving the right dough consistency. Use filtered or bottled water if possible; tap water may contain chlorine that can inhibit yeast activity. The ideal water temperature should be around 85°F (29°C) when mixing it with other ingredients to promote fermentation effectively. Approximately 350 grams of water is required.
Salt
Salt not only enhances flavor but also strengthens gluten structure during fermentation. It plays an essential role in controlling yeast activity so that the dough rises evenly without becoming overactive. Use fine sea salt or kosher salt; avoid table salt containing additives like iodine that could affect yeast performance. For this recipe, you will need around 10 grams of salt.
Starter
A strong sourdough starter is vital for this recipe; it contains wild yeast and bacteria that ferment the dough naturally. You can either purchase a starter or create one yourself by mixing equal parts flour and water over several days until it becomes bubbly and active. Ensure your starter is fed regularly; use about 100 grams for optimal results.
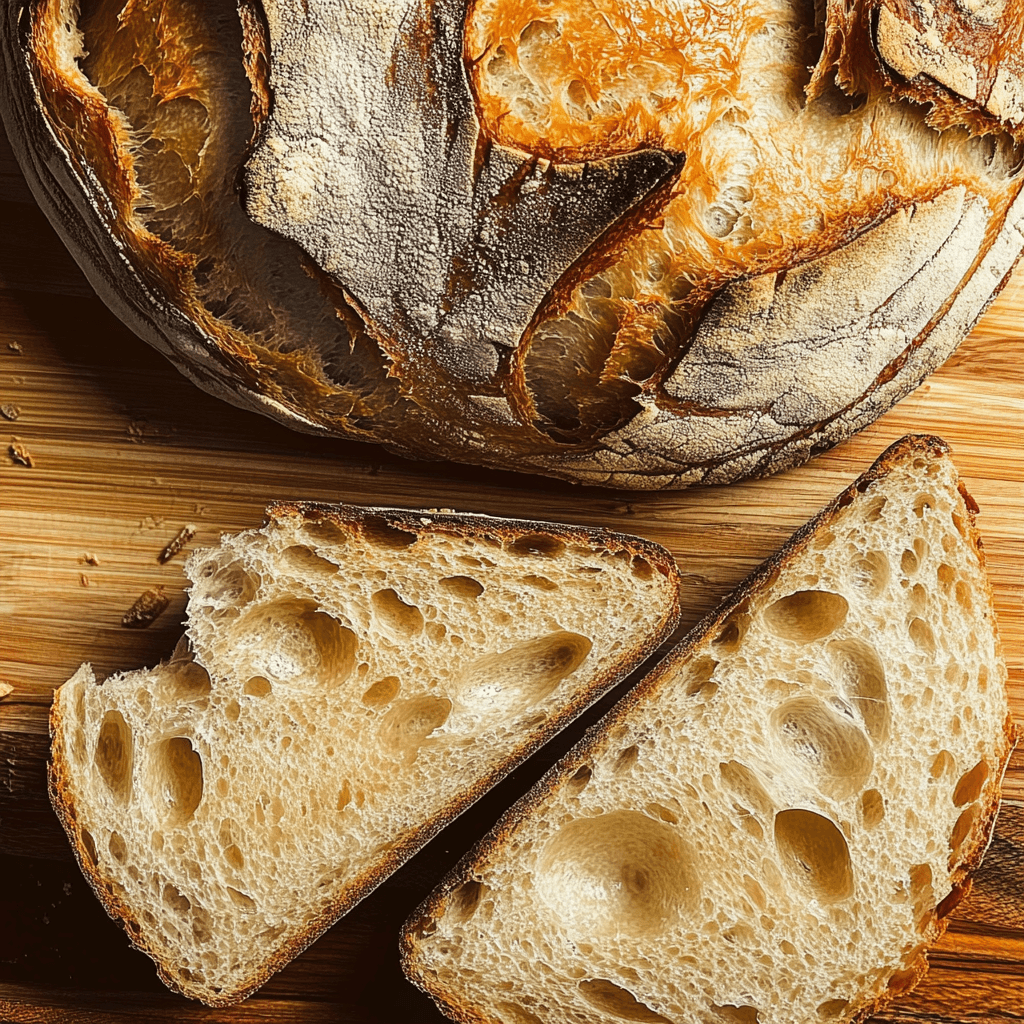
How to Prepare Sourdough Bread
Step 1: Mix Ingredients
Start by combining your active starter with water in a large mixing bowl. Stir until well blended before adding in the flour gradually while mixing with a wooden spoon or your hands until no dry bits remain visible. Once combined, add salt evenly across the surface of the dough before incorporating it into the mixture thoroughly by squeezing and folding until fully incorporated.
After mixing everything together into a shaggy dough ball—aiming for medium elasticity—cover it tightly with plastic wrap or a damp cloth while letting it rest at room temperature (ideally between 70°F – 75°F) for about 30 minutes. This initial resting period allows gluten strands to relax while giving time for hydration within each grain particle—the foundation needed before moving onto bulk fermentation.
Step 2: Bulk Fermentation
Now it’s time for bulk fermentation. This stage typically lasts anywhere from four to six hours depending on ambient temperature conditions in your kitchen environment—warmer temperatures lead to faster fermentations while cooler settings slow things down significantly. During this period perform stretch-and-fold techniques every thirty minutes—gently pull one side of dough outward then fold it back over onto itself—repeat this process four times around each edge until you complete one full cycle.
This technique strengthens gluten structure significantly leading towards an airy crumb texture later on once baked. After finishing these intervals… cover again tightly allowing them enough time uninterrupted until doubled in size.
Step 3: Shaping
Once bulk fermentation has completed properly—lightly dust clean surfaces with flour before transferring dough out gently from bowl onto worktop without deflating too much volume. Shape into desired forms such as round boules (round balls) or batards (oval shapes)—use gentle motions ensuring minimal disruption throughout shaping process. Once shaped correctly place into proofing baskets lined lightly floured cloths ensuring seam-side faces up during final rise—cover loosely using plastic wrap/damp towels then let rest undisturbed approximately one hour at room temp (or longer if desired).
Step 4: Preheat Oven
While waiting on final rise—it’s critical preheating oven ahead prior baking session begins. Preheat oven setting temperature around 450°F (232°C) while placing dutch oven inside (if using)—allowing heat retention building inside vessel creating steam effect necessary achieving perfectly crusty exterior once baked properly. After completing rise check conditions ensuring ready before transitioning toward scoring/baking stages.
Step 5: Bake
Once everything has reached optimum states including preheated oven/scoring techniques applied; carefully place proofed loaf directly into dutch oven followed closely sealing lid shut immediately creating steam environment crucial during initial baking phase lasting roughly twenty-five minutes. Afterward remove lid carefully allowing crust develop outside further golden brown color taking another fifteen-twenty minutes achieved desired final appearance being perfectly crisped.
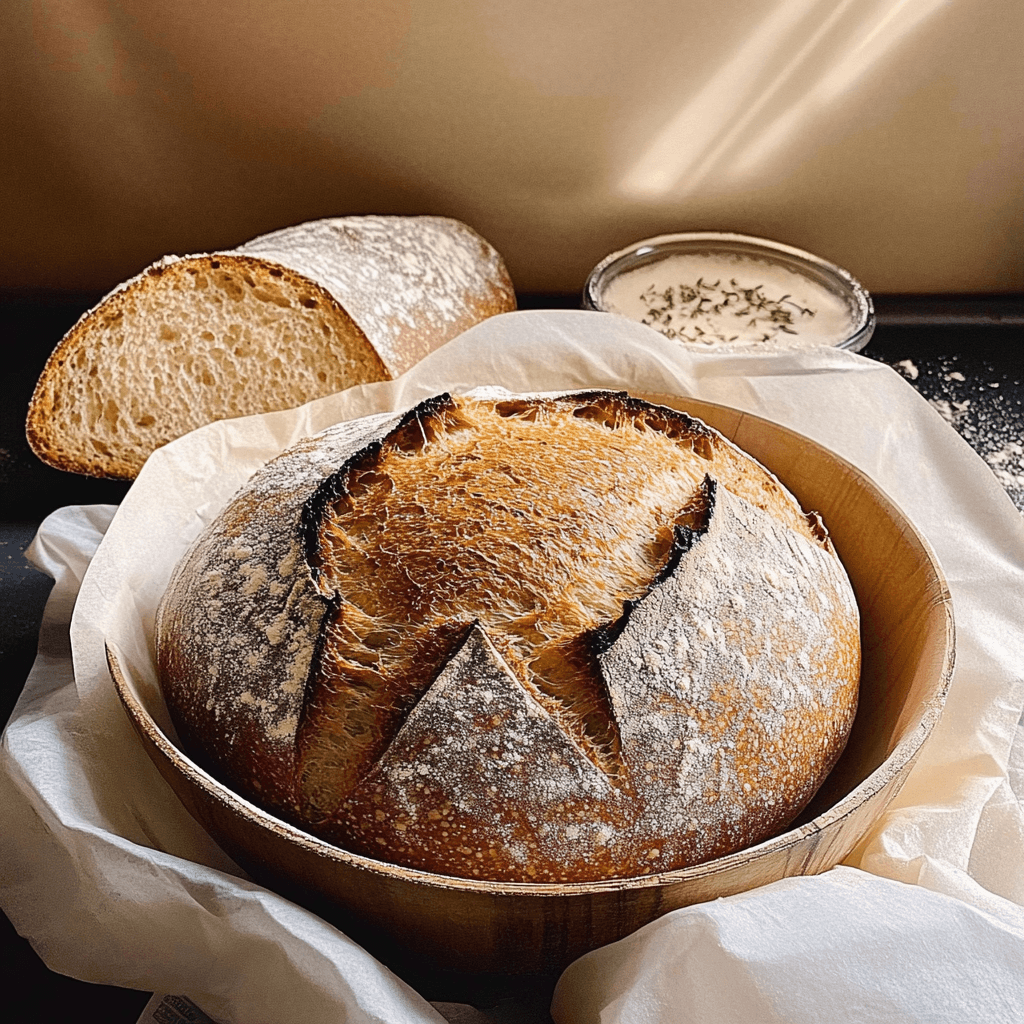
Serving and Storing Tips
Serving Suggestions
When enjoying freshly baked sourdough bread—consider pairing slices alongside spreads such as butter/jam combinations enhancing flavors beautifully—or utilize leftover loaves transforming them into scrumptious grilled cheese sandwiches utilizing melted cheeses bursting flavors within crispy layers. Sourdough also makes excellent bases supporting toppings like avocado toast sprinkled red pepper flakes providing delightful breakfast options catering various palettes indulging creativity every bite taken.
Storing Techniques
To maximize freshness—ensure cooling completely post-baking session before wrapping stored away either plastic wrap/linen cloth maintaining moisture without compromising crust texture keeping integrity intact longer periods. Alternatively if planning consume later freeze slices individually placing sealed bags preventing freezer burn maintaining quality even months beyond initial bake date retaining delightful tastes enjoyed fresh-from-oven experiences throughout future occasions whenever cravings strike unexpectedly savored moments celebrated together sharing cherished memories created around homemade goodness evident every mouthful devoured wholeheartedly relishing journeys undertaken discovering artistry behind crafting beautiful loaves embracing traditions passed down generations enriching lives everywhere shared warmth nourishing souls alike.
Mistakes to avoid
When baking sourdough bread, several common mistakes can hinder your results. It’s essential to identify and avoid these pitfalls to achieve that perfect loaf.
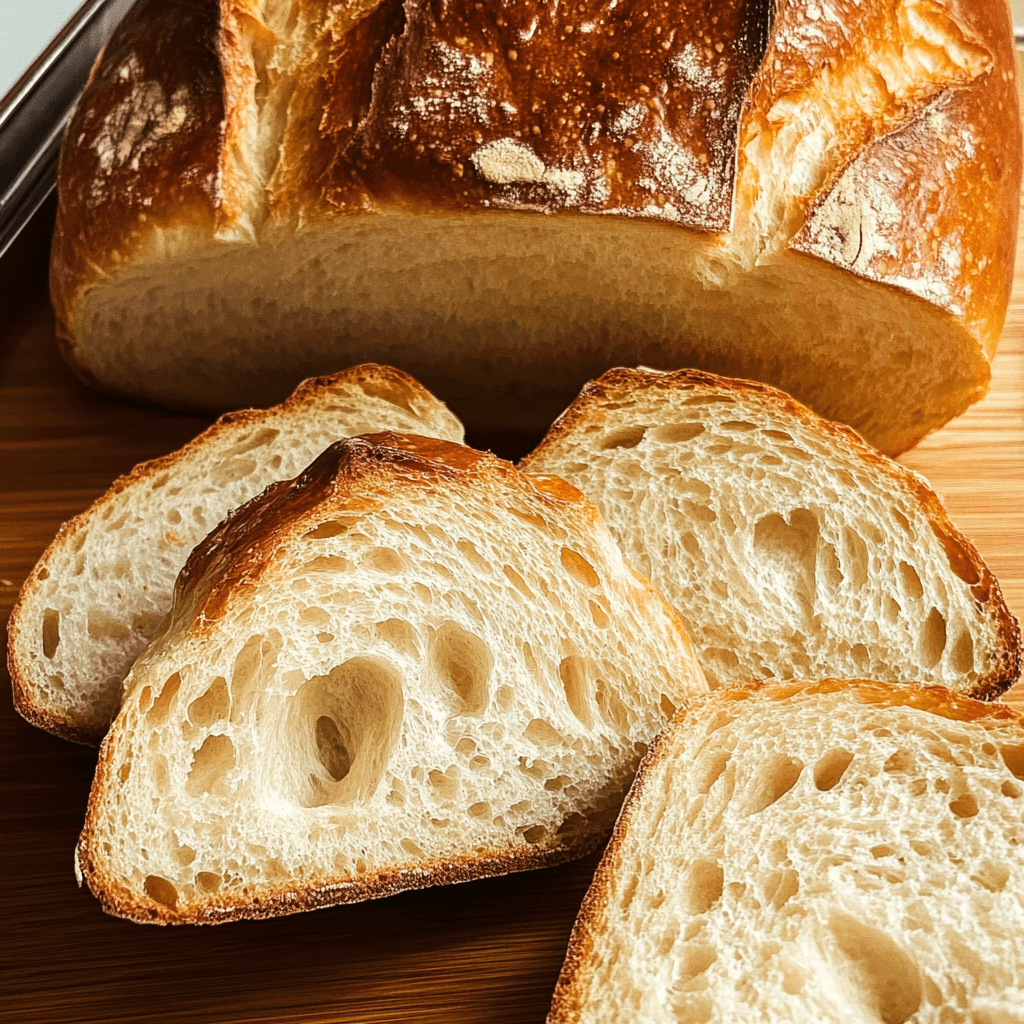
One significant mistake is not allowing the dough enough time to rise. Sourdough relies on natural fermentation, which takes longer than commercial yeast. Skipping the bulk fermentation phase or rushing through the process can lead to dense bread with poor flavor. Always give your dough ample time to develop, as this enhances both texture and taste.
Another frequent error is neglecting temperature control. Sourdough fermentation is temperature-sensitive; cooler environments slow down yeast activity while warmer conditions speed it up. Baking in a drafty area or a too-warm kitchen may affect your dough’s rise and flavor development. Aim for a consistent room temperature of around 75°F (24°C) for optimal fermentation.
Using the wrong flour type is another mistake many bakers make. While all-purpose flour can work, using bread flour enhances gluten development, resulting in a chewier texture and better structure. Whole wheat flour can also be beneficial but should be mixed with white flour to maintain balance.
Finally, underestimating hydration levels can lead to serious problems. Sourdough requires higher hydration than traditional bread recipes, which can make handling challenging but improves crumb structure and flavor. If your dough feels too dry, consider adding more water gradually until you reach the desired consistency.
Tips and tricks
Successfully baking sourdough bread involves understanding some effective tips and tricks that can significantly enhance your results.
First, always feed your starter regularly and keep it at room temperature if you bake often. A well-fed starter is vital for good fermentation, providing the necessary leavening power for your sourdough bread. You can also store it in the fridge if you bake less frequently but remember to bring it back to room temperature before use.
Next, practice proper kneading techniques. Kneading helps develop gluten, giving your bread its characteristic structure and chewiness. Instead of traditional kneading methods, try the stretch-and-fold technique during bulk fermentation. This method strengthens the dough without overworking it.
Monitoring hydration levels closely can also improve your baking experience. As mentioned earlier, sourdough typically requires higher hydration levels for optimal results. Start with around 70% hydration and adjust based on your flour type and humidity conditions in your kitchen.
Utilizing steam during baking is another excellent tip for achieving the perfect crust on your sourdough bread. Creating steam in the oven helps expand the dough during the initial stages of baking, leading to a crispier crust while keeping moisture inside for a tender crumb.
Lastly, invest in a good quality digital thermometer to check internal temperatures accurately when baking sourdough bread. The ideal internal temperature for fully baked sourdough ranges between 200°F (93°C) and 210°F (99°C). Using this tool ensures that you avoid underbaking or overbaking your loaves.
Suggestions for Sourdough Bread
To make exceptional sourdough bread consistently, consider implementing these suggestions that enhance both flavor and texture.
Firstly, experiment with different types of flours beyond standard white bread flour. Incorporating whole grains such as spelt or rye not only adds depth of flavor but also increases nutritional value. Remember that different flours absorb water differently; adjusting hydration accordingly will yield better results.
Taking notes throughout your baking process is invaluable for improving future batches of sourdough bread. Document factors such as dough temperatures, rising times, and even environmental conditions like humidity or temperature changes in your kitchen. This record helps identify what works best for you over time.
Consider trying out longer fermentation times overnight in the refrigerator after shaping your dough; this cold fermentation allows flavors to develop further while making handling easier when it’s time to bake. It also enhances digestibility due to extended enzymatic action on starches within the dough.
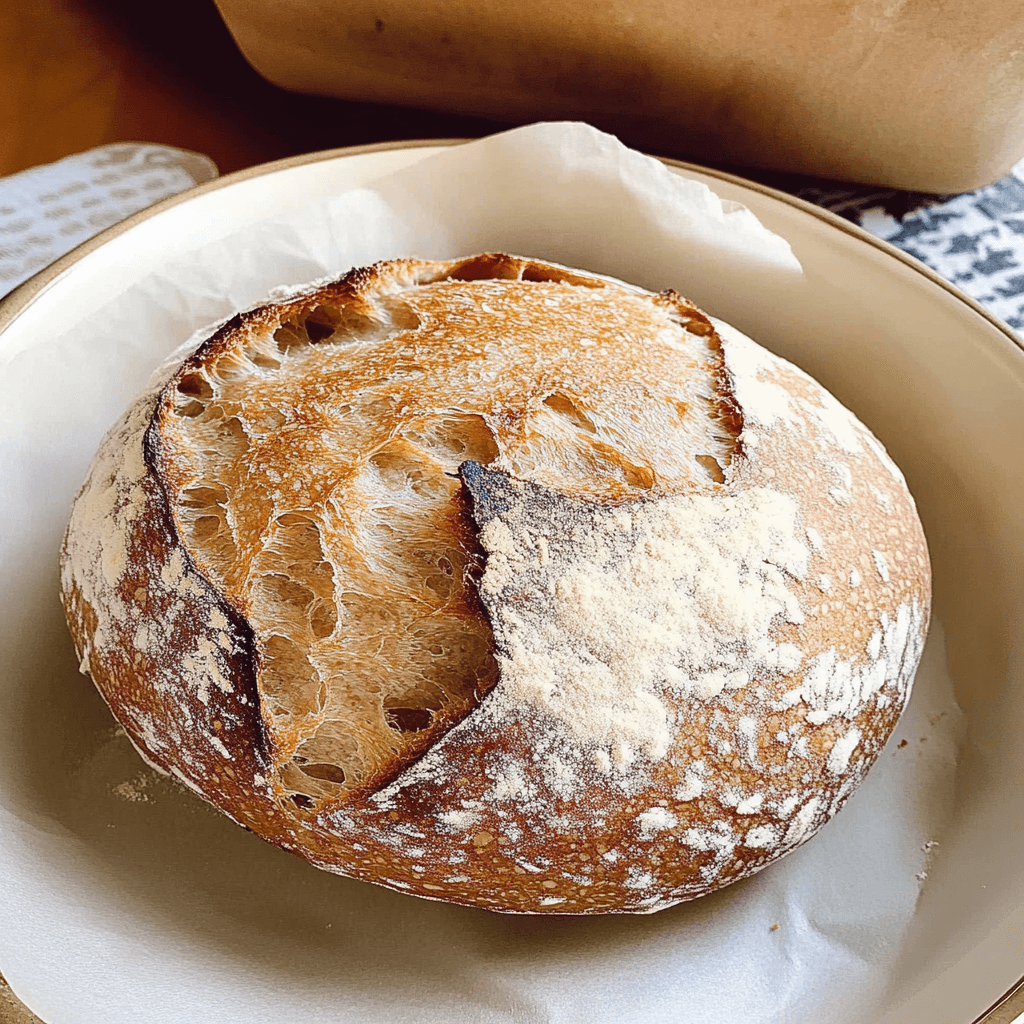
Investing in a Dutch oven or combo cooker can significantly improve how you bake sourdough bread at home by creating an enclosed space that retains moisture effectively during baking—resulting in superior crust formation compared to traditional baking sheets alone.
Lastly, don’t shy away from experimenting with add-ins like seeds or nuts. These ingredients not only provide unique flavors but also add texture variations that elevate homemade sourdough beyond just basic loaves—allowing creativity while enhancing its appeal.
FAQs
What is Sourdough Bread?
Sourdough bread is a type of artisanal bread made through natural fermentation processes involving wild yeast and lactic acid bacteria present in sourdough starters rather than commercial yeast packets found in typical recipes. This results in unique flavors characterized by tanginess from acids produced during fermentation while offering an incredible chewy texture due to its high gluten content developed through kneading techniques used throughout preparation stages.
How long does it take to make Sourdough Bread?
The time required varies depending on factors like starter readiness but generally takes around 24 hours from start-to-finish when accounting for bulk fermentation periods plus shaping time before final proofing occurs prior baking step completion—this lengthy duration allows flavors from natural fermentations adequately develop alongside necessary gluten structures forming within dough itself ensuring successful outcomes.
Can I use whole wheat flour for Sourdough Bread?
Yes. Whole wheat flour adds depth-of-flavor along with additional nutrients compared against conventional white flours—it’s commonly mixed half-and-half ratio alongside all-purpose/bread varieties ensuring balanced textures remain intact whilst benefiting from increased fiber content found within whole grains themselves—adjust hydration percentages accordingly since they absorb moisture differently.
What equipment do I need for making Sourdough Bread?
Essentially minimal yet functional tools include mixing bowls (stainless steel preferred), bench scrapers (for easy handling), proofing baskets (to shape loaves effectively), digital thermometers (checking internal temperatures accurately) plus Dutch ovens or combo cookers idealized particularly designed retaining steam during cooking phases assisting crust development—these items simplify processes enabling successful outcomes more consistently throughout each attempt made.
Why does my Sourdough Bread not rise?
Common reasons behind poor rises include inadequate feeding schedules leading insufficiently active starters lacking necessary strength required leavening capabilities alongside improper temperature control affecting overall ferments negatively leading denser loaves produced using insufficiently risen dough—maintaining consistent warm environments ensures optimal growth rates achieved resulting airy baked goods desired.
How should I store my Sourdough Bread?
After cooling completely post-baking allow rest periods upon cooling racks preserving freshness longer—wrapping tightly using plastic wrap prevents staling extending shelf-life; alternatively utilizing paper bags promotes crust retention while avoiding sogginess. If storing longer-term options include freezing slices individually allowing quick access whenever fresh flavors needed again soon after initial bakes complete ensuring no waste occurs.
Conclusion
Baking sourdough bread requires patience and practice but results in rewarding experiences filled with delightful aromas and incredible textures once mastered successfully. Avoid common mistakes by allowing adequate rising times alongside maintaining proper temperatures influences success significantly throughout process stages ensuring optimal outcomes achieved consistently every single time attempted. Utilize tips shared regarding kneading techniques combined experimentation involving diverse flours contribute immensely towards creating unique loaves bursting rich flavors tailored personal preferences enjoyed family friends alike.
Remember documenting each step taken aids improvement efforts so refining skills develops naturally resulting mastery gained over time yielding inevitable triumphs achieved within art form known as homemade sourdough creations. Enjoy every moment spent crafting deliciousness worth savoring indulgent pleasures derived simple yet satisfying joys found within freshly baked slices shared loved ones around tables fostering connections forged passion dedicated pursuits.
Print
The Ultimate Guide to Perfect Sourdough Bread
5 Stars 4 Stars 3 Stars 2 Stars 1 Star
No reviews
- Author: Clara Rosewood
- Total Time: 5-7 hours (including rise times)
- Yield: 1 loaf 1x
- Diet: Vegetarian
Description
Sourdough bread is a flavorful and tangy artisan bread made using a natural fermentation process with wild yeast and bacteria. This recipe gives you a delicious, crusty loaf with a chewy texture and a mild sour flavor. It’s perfect for sandwiches, toasts, or enjoying with a pat of butter!
Ingredients
- 1 cup sourdough starter (active and bubbly)
- 1 1/2 cups warm water
- 4 cups all-purpose flour (or bread flour)
- 1 1/2 teaspoons salt
- 1 tablespoon honey (optional, for a touch of sweetness)
- 1 tablespoon olive oil (optional, for a softer crumb)
Instructions
- Activate the Starter: In a large mixing bowl, combine the sourdough starter and warm water. Stir until the starter dissolves into the water.
- Make the Dough: Add the flour, salt, honey (if using), and olive oil (if using) to the bowl. Stir until the dough comes together. If the dough is too sticky, gradually add a little more flour until it becomes a smooth, slightly tacky dough.
- Knead the Dough: Transfer the dough to a floured surface and knead for about 8-10 minutes until the dough becomes elastic and smooth. Alternatively, you can use a stand mixer with a dough hook.
- First Rise: Place the dough in a lightly oiled bowl, cover with a damp cloth or plastic wrap, and let it rise at room temperature for 4-6 hours or until doubled in size.
- Shape the Dough: After the first rise, gently punch down the dough and shape it into a round or oval loaf. Place the shaped dough onto a parchment-lined baking sheet or into a proofing basket if you have one.
- Second Rise: Cover the dough again and let it rise for another 1-2 hours, or until it puffs up and becomes slightly airy.
- Preheat the Oven: While the dough is rising, preheat your oven to 450°F (230°C). If you are using a baking stone, place it in the oven during preheating.
- Score the Bread: Before baking, use a sharp knife or bread lame to score the top of the dough with shallow cuts. This allows the bread to expand evenly while baking.
- Bake the Bread: Place the dough in the oven and bake for 30-35 minutes, or until the crust is golden brown and the bread sounds hollow when tapped on the bottom.
- Cool and Serve: Let the sourdough bread cool on a wire rack before slicing. Enjoy!
Notes
- The rise time may vary depending on the temperature of your kitchen, as sourdough ferments more slowly than yeast-leavened bread. Be patient!
- If you don’t have a sourdough starter, you can make one at home with just flour and water, though it will take about 5-7 days to develop.
- For an even crispier crust, place a small pan of water in the oven during the first 10 minutes of baking to create steam.
- You can experiment by adding seeds, herbs, or garlic to the dough for additional flavor.
- Prep Time: 20 minutes (excluding rise time)
- Cook Time: 30-35 minutes
- Category: Bread
- Method: Baking
- Cuisine: American

 Brown Sugar and Coconut Body Scrub Exfoliates
 Get The Product!