Introduction and Key Insights
Yellow Cake With Chocolate Frosting is a classic dessert that evokes nostalgia and joy. Whether you’re celebrating a birthday or simply indulging in a sweet treat, this delightful combination of fluffy yellow cake and rich chocolate frosting hits the mark every time. The moist texture of the yellow cake pairs beautifully with the creamy chocolate topping, making it a favorite among both kids and adults alike.
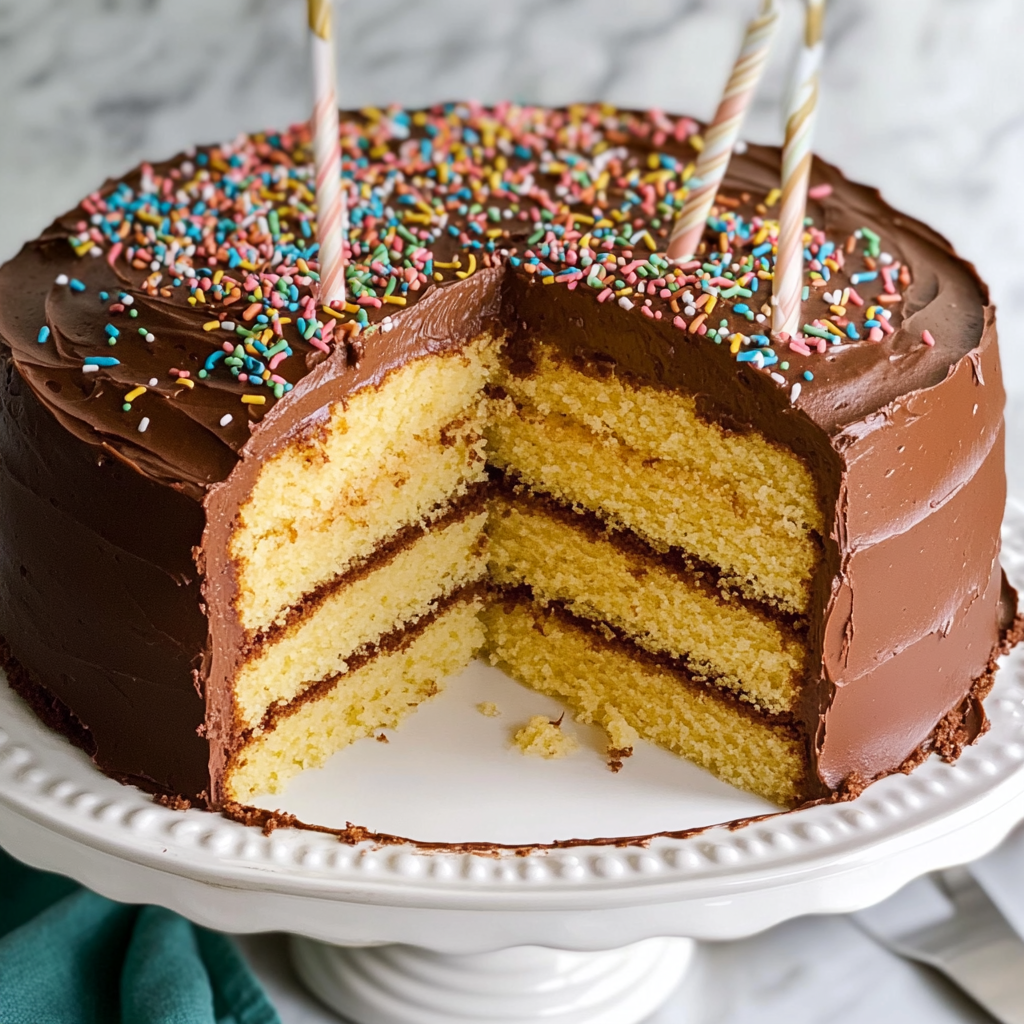
In this article, we will walk you through everything you need to know to create the perfect Yellow Cake With Chocolate Frosting from scratch. From selecting high-quality ingredients to mastering baking techniques, we’ve got you covered. You won’t just learn the recipe; you’ll also discover tips that can elevate your baking skills. By following these steps meticulously, you will impress family and friends at your next gathering. Let’s jump into the ingredients overview and get started on this delicious journey.
Ingredients Overview for Yellow Cake With Chocolate Frosting
All-Purpose Flour
All-purpose flour serves as the backbone of your Yellow Cake With Chocolate Frosting. It provides structure and stability to the cake while ensuring a tender crumb. For this recipe, you will need 2 cups of all-purpose flour. Be sure to measure it correctly by spooning it into your measuring cup and leveling it off for accuracy.
Granulated Sugar
Sugar adds sweetness and moisture to your cake while contributing to its overall flavor profile. You will need 1 ½ cups of granulated sugar in this recipe. Using fresh sugar ensures that your cake is sweet without any off flavors.
Unsalted Butter
Unsalted butter is essential for creating a rich taste in your Yellow Cake With Chocolate Frosting. You will need ½ cup (1 stick) of room temperature unsalted butter. Ensure it’s softened but not melted; this helps achieve the perfect texture when creaming with sugar.
Eggs
Eggs are vital for binding the ingredients together and adding moisture to your cake. This recipe requires 3 large eggs at room temperature. Room temperature eggs help them incorporate better into the batter, resulting in a fluffier texture.
Milk
Milk adds moisture and richness to your Yellow Cake With Chocolate Frosting. You’ll need 1 cup of whole milk for this recipe. Using whole milk enhances flavor and contributes to a more tender crumb compared to lower-fat alternatives.
Baking Powder
Baking powder is crucial for leavening your yellow cake, allowing it to rise beautifully during baking. For this recipe, use 1 tablespoon of baking powder for optimal results.
Vanilla Extract
Vanilla extract gives your yellow cake its signature flavor profile. You will require 2 teaspoons of pure vanilla extract in this recipe for an aromatic touch that enhances all other flavors.
Cocoa Powder
Cocoa powder is key for making rich chocolate frosting that complements the yellow cake perfectly. Use ½ cup of unsweetened cocoa powder in your frosting recipe for an intense chocolate flavor without added sweetness.
Powdered Sugar
Powdered sugar serves as the sweetening agent in your chocolate frosting while helping achieve a smooth consistency. For this recipe, you will need 3 cups of powdered sugar sifted before adding to ensure there are no lumps in the frosting.

How to Prepare Yellow Cake With Chocolate Frosting
Step 1: Preheat Your Oven
Start by preheating your oven to 350°F (175°C). This step is crucial because it ensures that the oven maintains an even temperature during baking. Proper preheating allows your Yellow Cake With Chocolate Frosting to rise evenly and achieve a light texture without excess browning on the outside before cooking through.
While preheating occurs, prepare two round 9-inch cake pans by greasing them with butter or cooking spray and lining the bottoms with parchment paper. This preparation helps prevent sticking when it’s time to remove the cakes from their pans after baking.
Step 2: Combine Dry Ingredients
In a medium-sized bowl, whisk together all-purpose flour, baking powder, and salt until they are well blended—this usually takes about one minute. Sifting these dry ingredients together helps aerate them so that they combine more easily with wet ingredients later on during mixing.
Set aside this bowl while you continue preparing other components of the batter.
Step 3: Cream Butter And Sugar Together
In a large mixing bowl or stand mixer fitted with a paddle attachment, add room temperature unsalted butter along with granulated sugar—beat these two ingredients together on medium speed until they become light and fluffy (usually around three minutes). The creaming process incorporates air into the mixture which gives structure while creating an airy texture once baked.
Make sure there are no lumps remaining from either ingredient; scrape down sides occasionally during mixing as needed.
Step 4: Add Eggs And Vanilla Extract
Next comes adding those three large eggs—incorporate one egg at a time into your creamed mixture while mixing slowly after each addition until fully integrated before adding another egg. Once incorporated completely add two teaspoons of pure vanilla extract then mix briefly until combined smoothly throughout batter consistency appears uniform.
This process not only adds flavor but also contributes additional moisture needed within finished product.
Step 5: Alternate Mixing Dry And Wet Ingredients
Now it’s time for alternating between dry mixture (from earlier) but now also incorporating whole milk. Begin by adding approximately one-third portion dry mixture followed by half cup whole milk then repeat process again ending last addition being remaining flour mixture. Mix gently just until no dry streaks remain—avoid over-mixing as doing so can create tough cakes instead fluffy ones desired outcome.
Once fully combined scrape down sides & bottom ensuring everything evenly mixed then pour evenly divided batter among prepared pans.
Step 6: Bake The Cakes
Transfer both pans filled with batter into preheated oven allowing them bake approximately thirty-five minutes or until toothpick inserted into center comes out clean. Keep an eye on cakes near end time checking regularly prevents over-baking leading dryness instead keeping them moist flavorful.
Once baked perfectly remove from oven letting cool inside pans five minutes before carefully running knife around edges releasing them onto wire racks allow cooling completely before frosting begins.
Serving and Storing Tips
Serving Suggestions
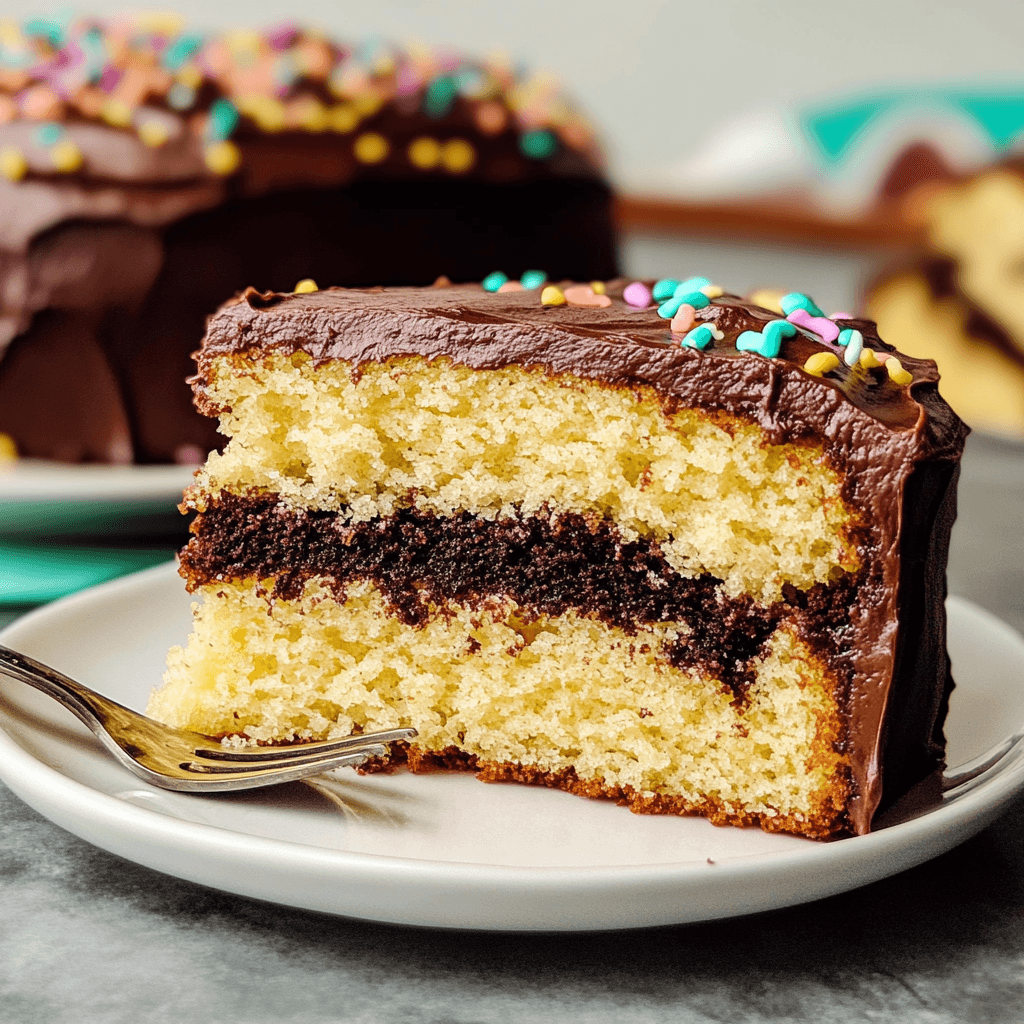
When serving Yellow Cake With Chocolate Frosting consider garnishing slices with fresh seasonal fruits like berries or sliced bananas placed atop frosted layers enhancing visual appeal along added flavors mingling well together. Alternatively serve alongside scoop vanilla ice cream—a classic pairing elevates dessert experience further satisfying those sweet cravings.
If making ahead ensure slicing remains easy post-cooling—use serrated knife gently cut through layers without disturbing beautiful frosted exterior appearance maintaining integrity presentation wise.
Storage Guidelines
To store leftover Yellow Cake With Chocolate Frosting properly wrap individual slices tightly using cling film preventing air exposure which could lead drying out prematurely over time. Alternatively place entire unfrosted cooled cakes within airtight containers refrigerate keeping fresh up four days maximum enjoying every bite still tasting deliciously moist.
For longer storage freeze unfrosted cakes wrap securely foil freeze up three months—thaw overnight refrigerator before decorating back same fantastic treat enjoyed initially.
Mistakes to avoid
One common mistake when making yellow cake with chocolate frosting is using cold ingredients. Cold eggs, butter, or milk can lead to a dense cake that doesn’t rise properly. Always remember to bring your ingredients to room temperature before you start mixing. This allows for better emulsification and creates a smoother batter. When the ingredients are too cold, they don’t combine well, resulting in uneven textures.
Another mistake is overmixing the batter. While it can be tempting to mix until everything is perfectly blended, overmixing can lead to a tougher cake. Always mix just until the ingredients are combined. A few lumps in the batter are fine; they will disappear during baking. Overmixed batter results in gluten formation that can spoil the lightness you desire in yellow cake.
Using the wrong type of flour can also ruin your yellow cake with chocolate frosting. All-purpose flour is typically best for this recipe, but some may be tempted to use cake flour for an ultra-light texture. However, this can lead to a less structured cake that may not hold up under the weight of chocolate frosting. Stick with all-purpose flour for a balanced result that retains moisture while remaining sturdy enough for frosting.
Not measuring your ingredients accurately is another pivotal error. Baking is a science; therefore, precise measurements are crucial for achieving the perfect texture and flavor. Use a kitchen scale for dry ingredients and liquid measuring cups for wet ones. This ensures you’re using the right proportions, which directly affects how well your cake turns out.
Finally, neglecting oven preheating can cause your yellow cake to bake unevenly or not rise as expected. Always preheat your oven according to the recipe instructions and make sure it’s fully heated before placing your cake inside. An oven thermometer can help ensure accuracy since many ovens don’t always indicate their true temperature.
Tips and tricks
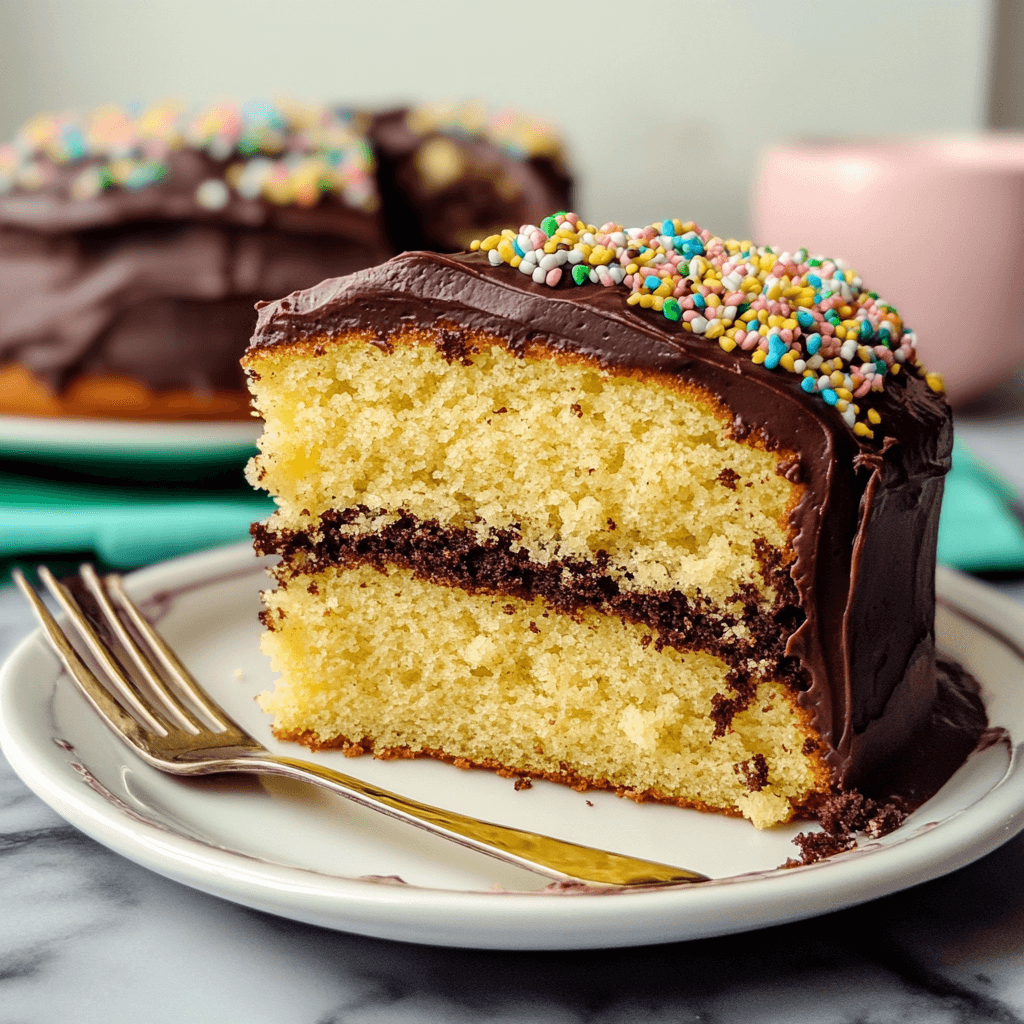
To achieve the perfect yellow cake with chocolate frosting, consider using high-quality ingredients. The flavor of your cake depends significantly on what you put into it. Opt for fresh eggs, real butter, and pure vanilla extract instead of imitation flavors. High-quality cocoa powder will also enhance the depth of flavor in your frosting. Investing in good ingredients makes a noticeable difference in taste.
Another key tip is to properly prepare your baking pans. Grease them thoroughly and line them with parchment paper for easy removal after baking. Lightly dusting them with flour after greasing ensures that nothing sticks, allowing for a smooth release once baked. Properly prepared pans prevent any potential disasters when trying to flip or remove the cakes.
Pay attention to baking time as well; every oven behaves differently due to variations in temperature calibration and hot spots within the cavity. Start checking your cake about five minutes before the suggested time by inserting a toothpick into the center of each layer. If it comes out clean or with just a few crumbs attached, it’s ready. This helps avoid overbaking or underbaking.
Keep an eye on cooling times as well; letting your cakes cool in their pans for about 10-15 minutes before transferring them helps set their structure while preventing breakage during removal. Once on wire racks, allow them to cool completely before frosting them; otherwise, warm cakes may melt your frosting.
Lastly, experiment with different frostings or fillings between layers if desired. While chocolate frosting pairs beautifully with yellow cake, adding fruit preserves or cream cheese filling can elevate flavors even further and create a delightful twist.
Suggestions for Yellow Cake With Chocolate Frosting
When preparing yellow cake with chocolate frosting, think about variations that enhance both flavor and presentation. For instance, consider adding lemon zest or almond extract into the batter for added depth of flavor without overwhelming sweetness. These subtle notes can complement the rich chocolate frosting beautifully.
If you’d like more texture in each bite, try folding mini chocolate chips into the batter before baking. This small addition creates delightful surprises throughout each slice while adding richness without overpowering other flavors.
For those who enjoy visual appeal alongside taste, try decorating your frosted cake with shaved chocolate curls or fresh berries on top once frosted. These decorations not only look stunning but also add additional flavor layers that harmonize wonderfully with both components of this dessert.
If you’re looking for healthier alternatives without compromising taste too much, consider substituting some of the all-purpose flour with whole wheat flour or using unsweetened applesauce instead of some butter content in both batters and frostings. While these changes may slightly alter textures and flavors from traditional recipes—it’s worth exploring new avenues.
Lastly, if time permits and you want an extravagant touch—let’s not forget about layering techniques where you alternate between layers of yellow cake filled with different flavored frostings. Be it raspberry cream cheese or mocha espresso—the options are practically endless.

FAQs
What makes yellow cake different from other cakes?
The primary difference lies in its ingredients and resulting texture. Yellow cakes typically contain whole eggs rather than just egg whites like white cakes do; this gives them their distinctive rich color and moist crumb structure as well as an appealing buttery taste when baked correctly.
Can I use box mix for yellow cake?
Yes. If you’re short on time or prefer convenience over scratch-made options—using box mixes works well too. Just follow package instructions closely while ensuring appropriate baking times since they might differ compared to homemade versions.
How long does homemade yellow cake stay fresh?
When stored properly in an airtight container at room temperature away from direct sunlight—it will generally remain fresh up until three days post-baking. Refrigeration extends its life slightly longer (up until one week), though it could dry out quicker due humidity levels within fridges.
What type of chocolate is best for chocolate frosting?
Semi-sweet chocolate often provides an ideal balance between sweetness and richness when creating decadent frostings. For those who prefer darker flavors—dark chocolate options yield delicious results as well.
Can I freeze leftover yellow cake?
Absolutely. Freezing leftover slices allows preservation without compromising quality over time; simply wrap tightly in plastic wrap followed by aluminum foil prior freezing—this prevents freezer burn while keeping moisture intact.
How do I achieve a fluffy texture in my yellow cake?
Achieving fluffiness requires proper creaming methods: ensure butter (at room temperature) gets whipped thoroughly together with sugar until light & airy before adding eggs incrementally followed by dry ingredient incorporation gradually—all essential steps toward creating desirable lightness throughout finished product.
Conclusion
In summary, creating a delicious yellow cake with chocolate frosting involves meticulous attention to detail at every step—from selecting high-quality ingredients to properly preparing pans and monitoring baking times carefully. Avoiding common mistakes like using cold ingredients or overmixing contributes greatly towards achieving desired outcomes while clever tips such as incorporating zest or experimenting with fillings elevate final presentations dramatically.
By taking these suggestions into account along with addressing frequently asked questions surrounding preparation processes—you’ll not only master this classic dessert but also feel empowered exploring various customization options tailored towards individual tastes. Enjoy every bite knowing you’ve crafted something truly special from scratch—worthy of being shared among family & friends alike.
Yellow Cake With Chocolate Frosting
5 Stars 4 Stars 3 Stars 2 Stars 1 Star
No reviews
- Author: Clara Rosewood
- Total Time: 50 minutes
- Yield: 12 servings 1x
- Diet: Vegetarian
Description
Yellow Cake with Chocolate Frosting is a classic dessert that combines a soft, buttery yellow cake with a rich, smooth chocolate frosting. This simple yet indulgent cake is perfect for birthdays, celebrations, or any time you’re craving a sweet, comforting treat. The balance between the fluffy cake and the decadent chocolate topping makes it a timeless favorite.
Ingredients
For the Yellow Cake:
- 2 1/2 cups all-purpose flour
- 2 1/2 teaspoons baking powder
- 1/2 teaspoon salt
- 1/2 cup unsalted butter, softened
- 1 1/2 cups granulated sugar
- 3 large eggs
- 1 tablespoon vanilla extract
- 1 cup whole milk
For the Chocolate Frosting:
- 1/2 cup unsalted butter, softened
- 1/2 cup unsweetened cocoa powder
- 2 cups powdered sugar
- 1/4 cup whole milk (more if needed)
- 1 teaspoon vanilla extract
- Pinch of salt
Instructions
- Prepare the cake batter:
- Preheat your oven to 350°F (175°C). Grease and flour two 9-inch round cake pans or line them with parchment paper.
- In a medium bowl, whisk together the flour, baking powder, and salt. Set aside.
- In a large mixing bowl, beat the softened butter and granulated sugar together until light and fluffy, about 3-4 minutes.
- Add the eggs one at a time, beating well after each addition. Stir in the vanilla extract.
- Gradually add the dry ingredients to the butter mixture, alternating with the milk. Begin and end with the dry ingredients, mixing until just combined.
- Bake the cake:
- Divide the batter evenly between the prepared cake pans. Smooth the tops with a spatula.
- Bake for 25-30 minutes, or until a toothpick inserted into the center comes out clean.
- Let the cakes cool in the pans for 10 minutes before transferring them to wire racks to cool completely.
- Prepare the chocolate frosting:
- In a medium bowl, beat the softened butter with the cocoa powder until smooth.
- Gradually add the powdered sugar, milk, vanilla extract, and salt. Beat on medium speed until smooth and creamy, adding more milk if necessary to reach a spreadable consistency.
- Assemble the cake:
- Once the cakes are completely cool, place one layer on a serving platter. Spread a generous amount of frosting on top.
- Place the second cake layer on top and frost the top and sides of the entire cake with the remaining chocolate frosting.
- Serve:
- Slice and serve the cake. Enjoy!
Notes
- You can add a layer of filling between the cake layers, such as fruit preserves, whipped cream, or more frosting, for extra flavor.
- The frosting recipe makes enough to cover the cake generously, but you can double it for a thicker layer of frosting.
- Leftovers can be stored in an airtight container at room temperature for up to 3 days.
- To make the cake ahead of time, you can freeze the un-frosted cake layers for up to 3 months. Thaw at room temperature before frosting.
- Prep Time: 20 minutes
- Cook Time: 30 minutes
- Category: Dessert
- Method: Baking
- Cuisine: American

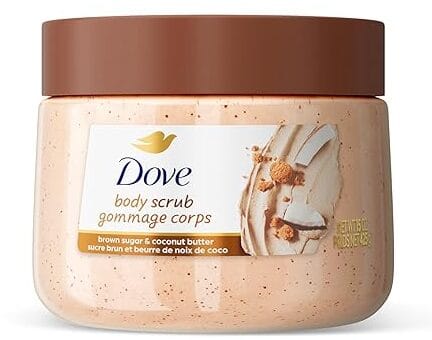
 Brown Sugar and Coconut Body Scrub Exfoliates
 Get The Product!