 Brown Sugar and Coconut Body Scrub Exfoliates
 Get The Product!
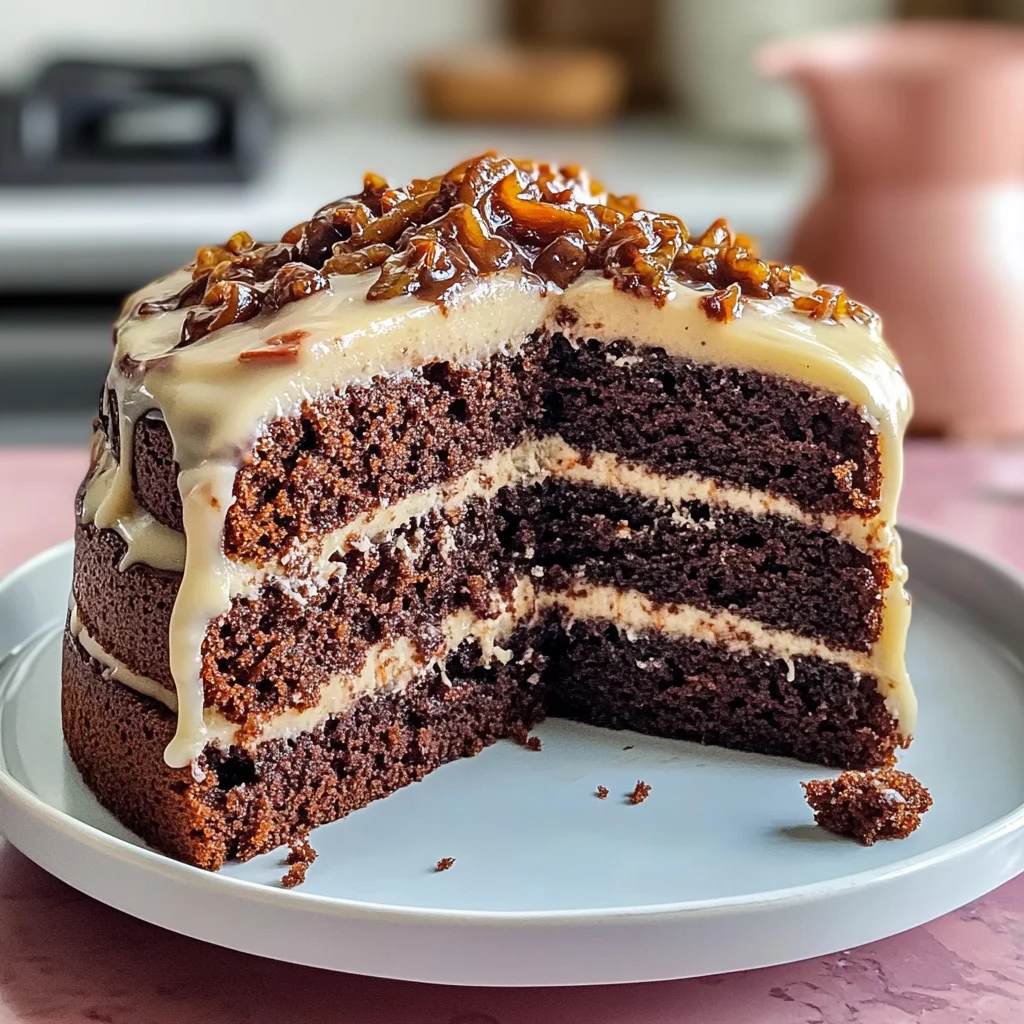
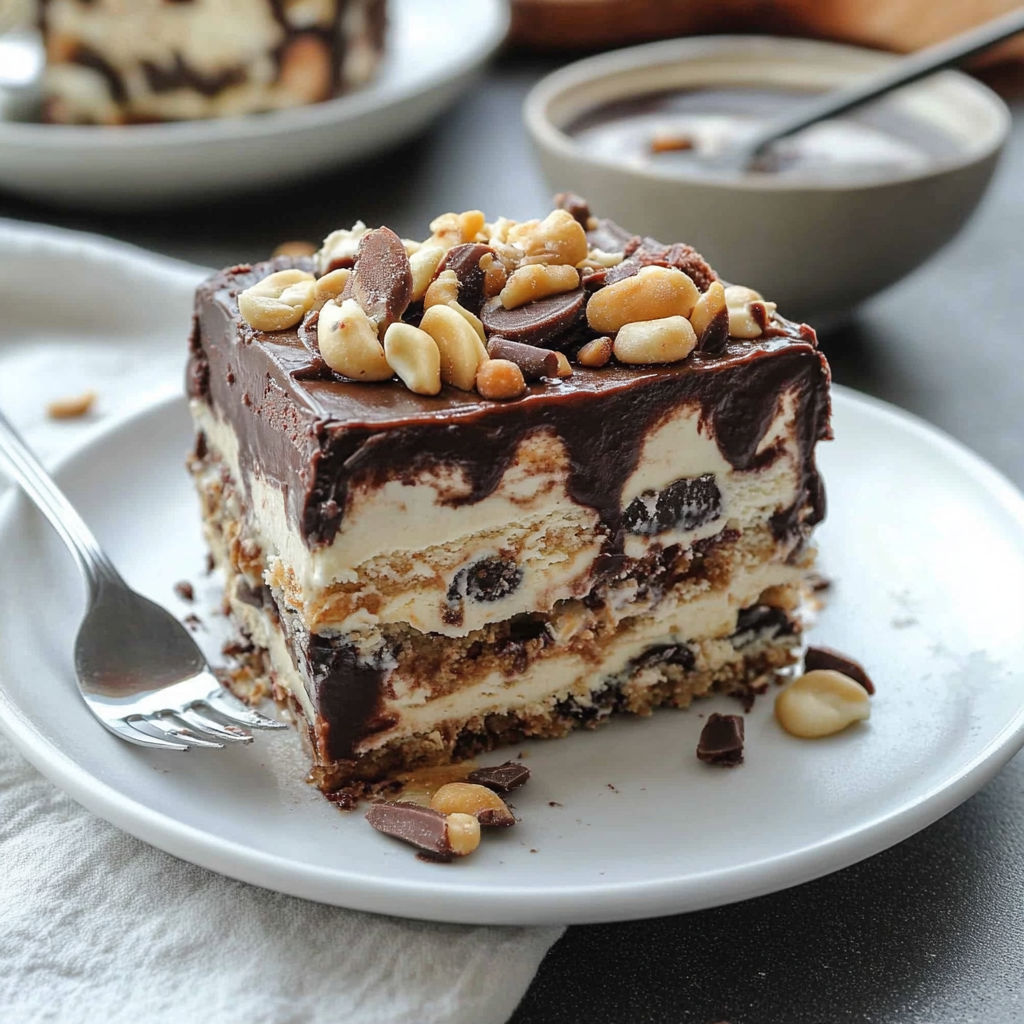
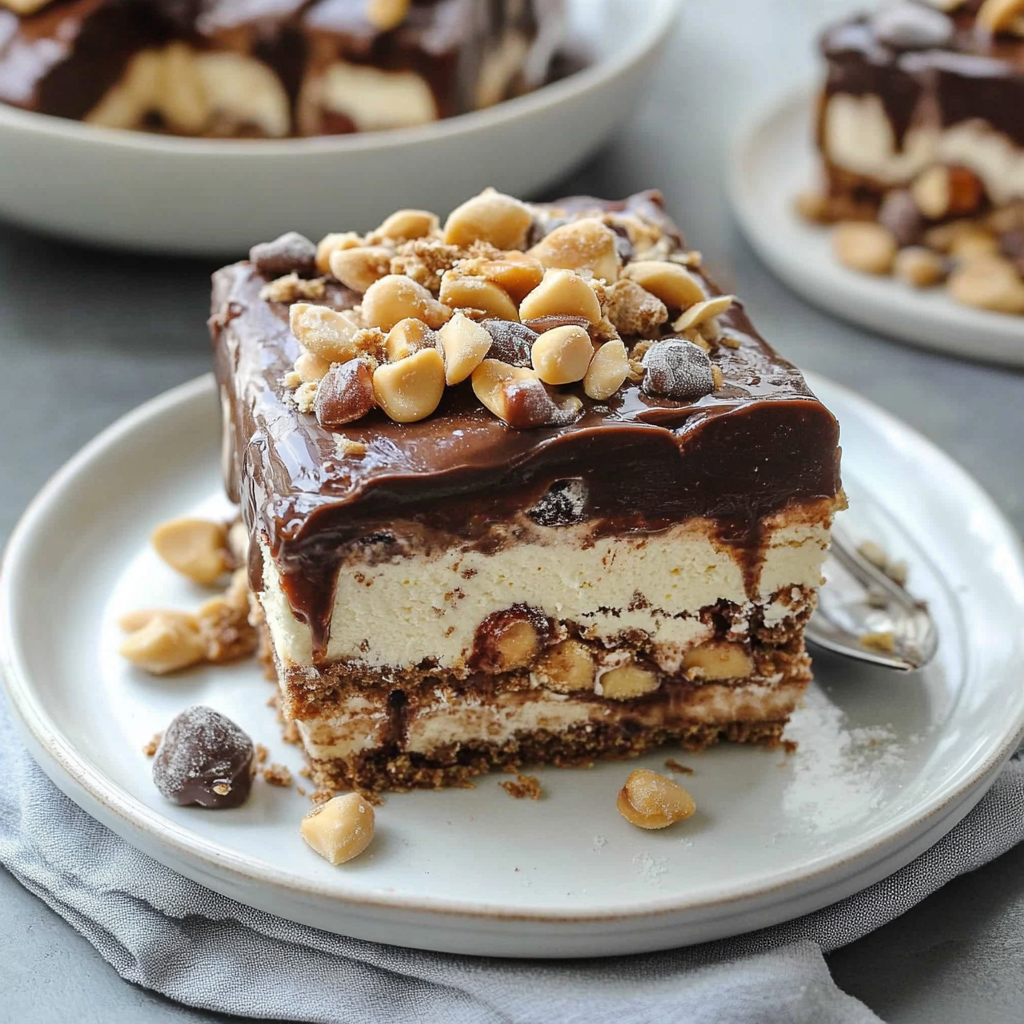
There’s something magical about ice cream cakes that can make even the grumpiest of folks crack a smile. Imagine layers of velvety ice cream nestled between crunchy layers of chocolate and fluffy whipped cream, all topped with a drizzle of warm fudge. You can practically hear the angels singing! This Buster Bar Ice Cream Cake is not just any dessert; it’s an experience that takes you on a delightful journey through flavors and textures with every bite. For more inspiration, check out this delicious dessert recipes recipe.
I remember the first time I made this cake for my best friend’s birthday. As soon as I unveiled it, the room erupted in cheers. It was like bringing a rock star to a party—everyone wanted a piece, and I had to fend off my niece, who was eyeing it like a hawk! The Buster Bar Ice Cream Cake is perfect for birthdays, summer barbecues, or any occasion where you want to impress your friends and family. Get ready for a flavor fiesta that will leave your taste buds dancing!
Why You'll Love This Recipe
- This Buster Bar Ice Cream Cake is incredibly easy to make, making dessert prep stress-free
- The rich flavors combine chocolate, vanilla, and caramel in delightful harmony
- Visually stunning with its layered structure, it’s sure to grab attention at any gathering
- Perfect for birthdays or simply as an indulgent treat on a hot day!
Every time I whip this up, my family can’t resist gathering around the kitchen like moths to a flame.
Essential Ingredients
Here’s what you’ll need to make this delicious dish:
-
Ice Cream Sandwiches: Use classic vanilla or chocolate sandwiches for that nostalgic touch everyone loves.
-
Chocolate Sauce: Opt for high-quality sauce; it makes all the difference in flavor and texture.
-
Whipped Topping: Choose stabilized whipped topping for better texture and stability in your cake.
-
Chopped Peanuts: Toasted peanuts add a delightful crunch; you can also use almonds if preferred.
-
Caramel Sauce: Drizzle generously; it enhances the cake’s richness and adds sweet depth.
The full ingredients list, including measurements, is provided in the recipe card directly below.
How to Make Buster Bar Ice Cream Cake
Prepare Your Base Layer: Start by laying down half of the ice cream sandwiches in a 9×13 inch baking dish. Ensure they fit snugly together without gaps; this creates a solid base.
Add Chocolate Sauce: Pour half of the chocolate sauce over the ice cream sandwiches while using a spatula to spread it evenly. The goal is to cover every sandwich with chocolatey goodness.
Layer on Whipped Topping: Spoon half of your whipped topping over the chocolate layer, smoothing it out carefully with an offset spatula for even coverage. This is where things start getting fluffy!
Sprinkle Those Peanuts!: Generously sprinkle chopped peanuts over the whipped topping layer. You want enough crunch here so that every bite has those delightful nutty bits!
Add More Layers!: Repeat the previous steps: another layer of ice cream sandwiches followed by remaining chocolate sauce, whipped topping, and more chopped peanuts on top.
Freeze Until Firm: Cover your cake with plastic wrap and let it freeze for at least 4 hours or overnight if you can wait (but who can?). This solidifies all those dreamy layers into one magnificent cake!
Now that you have this unforgettable Buster Bar Ice Cream Cake ready to serve, prepare yourself for compliments galore! Enjoy the process as much as you enjoy devouring each delicious slice.
You Must Know
- This delightful Buster Bar Ice Cream Cake is a crowd-pleaser, combining rich flavors and textures
- With creamy layers and crunchy elements, it’s ideal for celebrations
- Customize it with your favorite toppings for a personalized touch that will impress your guests
Perfecting the Cooking Process
Start by preparing the crust first; then layer ice cream while allowing it to soften slightly for easy spreading.
Add Your Touch
Consider swapping vanilla ice cream for chocolate or adding crushed cookies for extra crunch and flavor.
Storing & Reheating
Store leftovers in an airtight container in the freezer to maintain freshness. Let it sit at room temperature before serving.
Chef's Helpful Tips
- For an impressive presentation, use a warm knife to slice through the cake smoothly
- Layering different flavors can elevate the taste experience
- Always let your ingredients reach room temperature before mixing for better blending and flavor integration
Making this cake has become a family tradition during summer gatherings, where laughter and sweet bites fill the air, creating cherished memories.
FAQ
Can I use different ice cream flavors for Buster Bar Ice Cream Cake?
Yes, feel free to mix and match your favorite ice cream flavors for variety.
How long can I store the Buster Bar Ice Cream Cake?
You can store it in the freezer for up to two weeks without losing quality.
What toppings work best on Buster Bar Ice Cream Cake?
Chopped nuts, chocolate syrup, or whipped cream add delicious finishing touches to this cake.
Buster Bar Ice Cream Cake
- Total Time: 0 hours
- Yield: 12 servings 1x
Description
Indulge in the delightful layers of our Buster Bar Ice Cream Cake! This crowd-pleasing dessert features creamy vanilla and chocolate ice cream sandwiches, rich chocolate sauce, and a crunchy topping of peanuts, all enveloped in fluffy whipped cream. Perfect for birthdays, summer parties, or any celebration, this easy-to-make cake will have everyone coming back for seconds!
Ingredients
- 12 ice cream sandwiches (vanilla or chocolate)
- 1 cup chocolate sauce
- 2 cups stabilized whipped topping
- 1 cup chopped toasted peanuts
- 1/2 cup caramel sauce
Instructions
- Prepare the Base Layer: Lay half of the ice cream sandwiches in a 9×13 inch baking dish.
- Add Chocolate Sauce: Pour half of the chocolate sauce over the sandwiches and spread evenly.
- Layer Whipped Topping: Spoon half of the whipped topping over the chocolate layer.
- Sprinkle Peanuts: Add a generous layer of chopped peanuts on top.
- Repeat Layers: Add another layer of ice cream sandwiches, followed by remaining chocolate sauce, whipped topping, and more peanuts.
- Freeze: Cover with plastic wrap and freeze for at least 4 hours or overnight before serving.
- Prep Time: 20 minutes
- Cook Time: None
- Category: Dessert
- Method: Freezing
- Cuisine: American
Nutrition
- Serving Size: 1 slice (approximately 100g)
- Calories: 320
- Sugar: 26g
- Sodium: 160mg
- Fat: 15g
- Saturated Fat: 7g
- Unsaturated Fat: 7g
- Trans Fat: 0g
- Carbohydrates: 43g
- Fiber: 2g
- Protein: 5g
- Cholesterol: 30mg