 Brown Sugar and Coconut Body Scrub Exfoliates
 Get The Product!
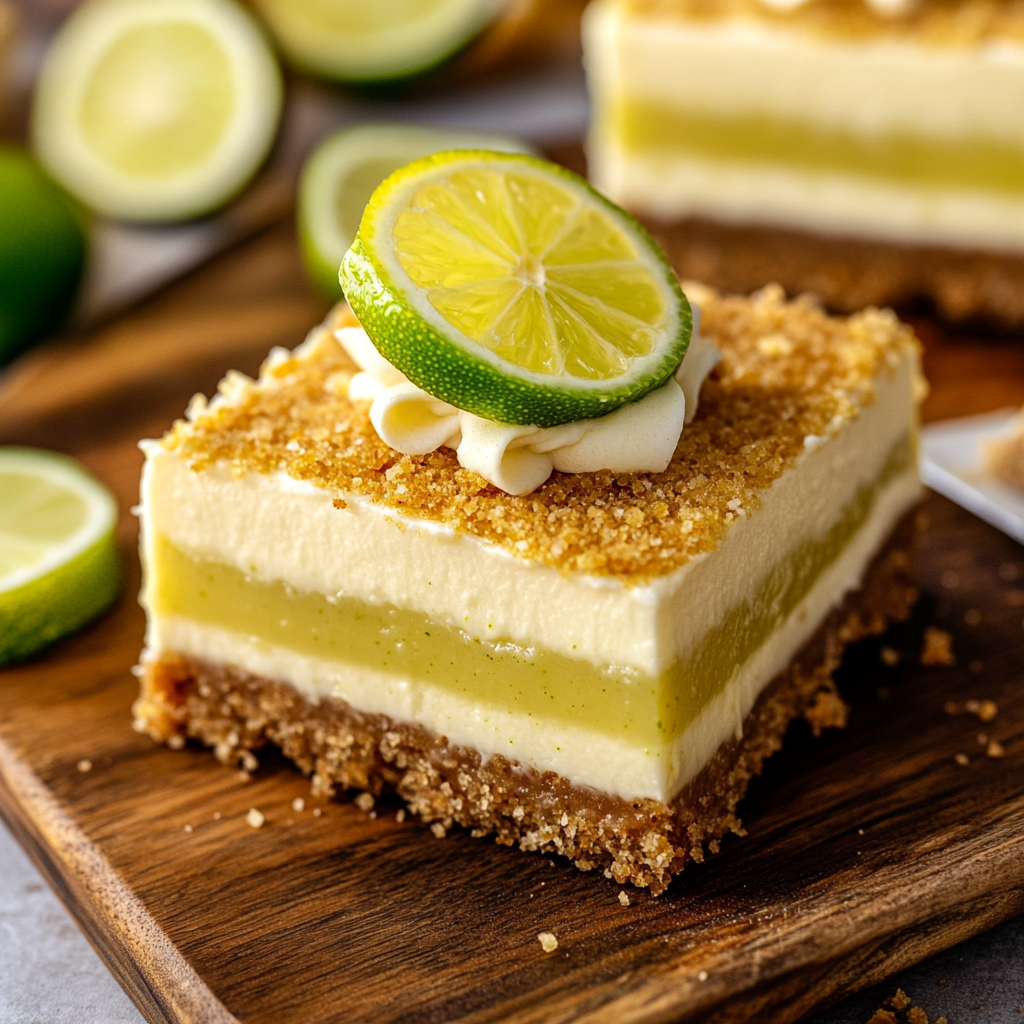
When I think of sunshine in dessert form, Key Lime Pie Bars instantly pop into my mind. Picture this: a creamy, zesty filling that dances on your taste buds, nestled within a buttery graham cracker crust. The aroma wafts through the kitchen like a tropical breeze, promising a delightful treat that brightens any day. These bars are not just desserts; they are a celebration of zestiness and sweetness, perfect for any occasion.
You might be wondering when to whip up these delicious Key Lime Pie Bars. The answer? Anytime you need a little pick-me-up or want to impress your friends at a summer barbecue. Trust me; one bite will have everyone asking for the recipe! If you’re ready to embark on this culinary journey, prepare yourself for an explosion of flavor that will leave you wanting more.
Why You'll Love This Recipe
- These Key Lime Pie Bars are incredibly easy to make, perfect for busy bakers
- Their bright citrus flavor combined with a crunchy crust is simply irresistible
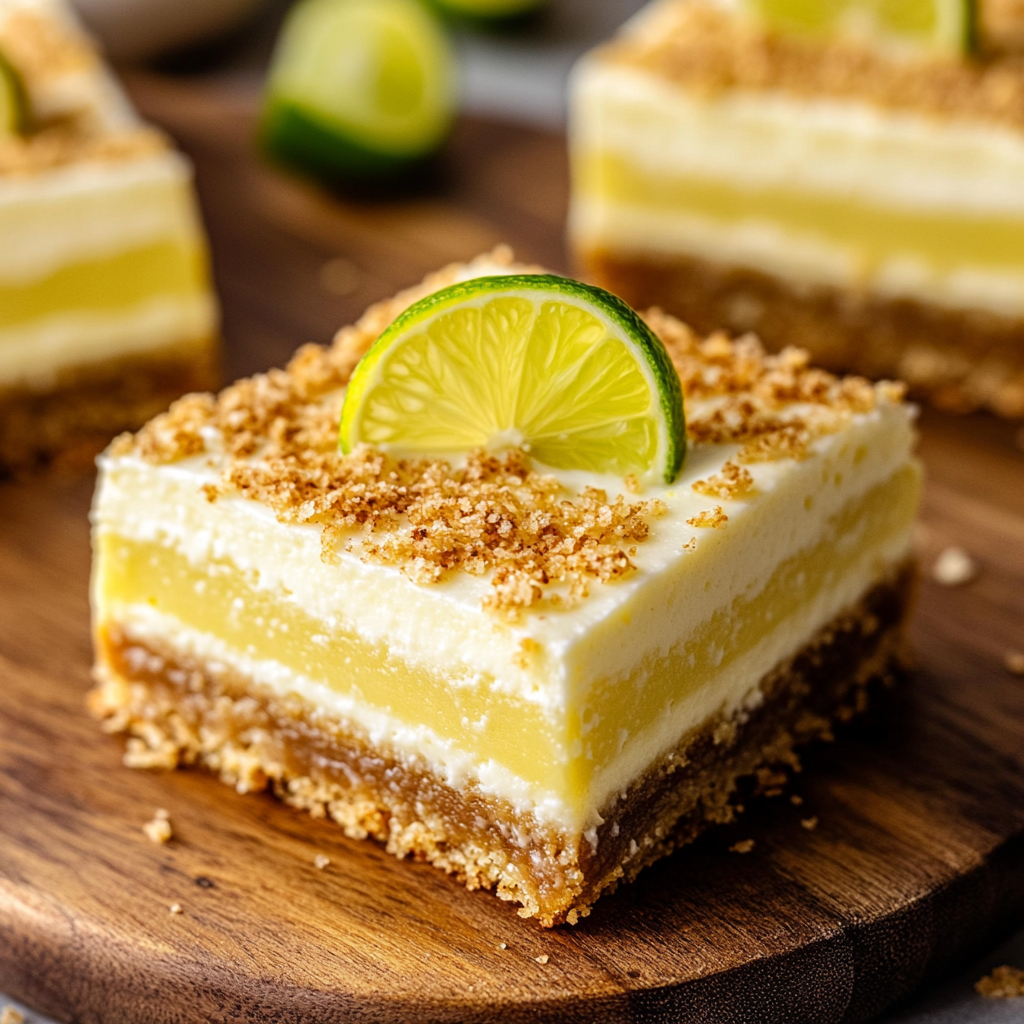
- Visually appealing with their vibrant green hue, they are sure to catch everyone’s eye at gatherings
- Enjoy them chilled or at room temperature, making them versatile for any event or occasion
I remember the first time I made these Key Lime Pie Bars for my family reunion. My cousin took one bite and exclaimed it was like tasting summer itself!
Essential Ingredients
Here’s what you’ll need to make this delicious dish:
-
Graham Crackers: Use finely crushed graham crackers for the best crust texture; they provide a sweet crunch that complements the filling.
-
Unsalted Butter: Melted butter binds the crust together; always use unsalted to control the saltiness of your bars.
-
Granulated Sugar: A touch of sugar enhances the sweetness of both the crust and filling; adjust according to your taste.
-
Fresh Key Lime Juice: Freshly squeezed juice brings out vibrant flavors; avoid bottled juice for the best results.
-
Sweetened Condensed Milk: This creamy ingredient gives the filling its luscious texture and sweetness; it’s non-negotiable!
-
Eggs: Eggs help set the filling perfectly; use large eggs for optimal baking results.
-
Zest of Key Limes: Zest adds a punchy flavor and aroma; don’t skip this step if you want that fresh zing!
The full ingredients list, including measurements, is provided in the recipe card directly below.
How to Make Key Lime Pie Bars
First Step: Preheat your oven to 350°F (175°C). Grab an 8×8-inch baking dish and line it with parchment paper for easy removal later. This step is crucial because nobody likes losing half their dessert to a sticky pan.
Second Step: In a medium bowl, combine crushed graham crackers, melted butter, and granulated sugar until well mixed. You’re looking for a sandy texture that holds together when pressed—like packing sand on a beach!
Third Step: Press this mixture firmly into the bottom of your prepared baking dish using your fingers or a flat-bottomed glass. Bake in the preheated oven for about 10 minutes until lightly golden brown and fragrant.
Fourth Step: While your crust cools slightly, whisk together sweetened condensed milk, fresh key lime juice, eggs, and lime zest in another bowl until smooth. You should see those beautiful flecks of green from the zest—it’s like confetti!
Fifth Step: Pour this luscious filling over your baked crust and spread it evenly with a spatula. Place it back in the oven and bake for an additional 15-20 minutes until set but slightly jiggly in the center.
Sixth Step: Once done, remove from the oven and let it cool completely at room temperature before transferring it to the fridge. Chill your Key Lime Pie Bars for at least two hours to allow them to firm up nicely.
Now you have created something utterly delightful! When you finally cut into these bars, prepare yourself for oohs and ahhs as everyone takes their first bite of tangy goodness surrounded by buttery crust. Just remember—sharing is caring unless you want to eat them all yourself!
You Must Know
- Key Lime Pie Bars are not just delicious; they bring a burst of zesty flavor in every bite
- The creamy texture paired with a crumbly crust is like a vacation for your taste buds
- Perfect for summer gatherings or a sweet treat after dinner!
Perfecting the Cooking Process
Start by preparing the crust while your oven preheats. Once the crust is baked, whisk together the filling ingredients for a smooth blend before pouring it over the crust.
Add Your Touch
Feel free to swap out graham crackers for crushed vanilla wafers in the crust for a twist. Adding a dollop of whipped cream on top can elevate the whole experience!
Storing & Reheating
Store your Key Lime Pie Bars in an airtight container in the fridge for up to five days. They taste even better cold, so no reheating necessary!
Chef's Helpful Tips
- For perfect bars, ensure your key lime juice is fresh and use room temperature eggs
- Don’t overbake; the filling should be slightly jiggly when removed from the oven
- Chill them before cutting to achieve clean slices!
Sharing these Key Lime Pie Bars with friends always brings back memories of my grandmother’s summer cookouts, where laughter filled the air along with that tangy aroma wafting from her kitchen.
FAQ
Can I use bottled lime juice for Key Lime Pie Bars?
While fresh lime juice is best, you can use bottled juice in a pinch.
How do I know when my Key Lime Pie Bars are done?
They should be set but still slightly jiggly in the center when done baking.
Can I freeze Key Lime Pie Bars?
Yes, they freeze well; just wrap them tightly to avoid freezer burn.

Key Lime Pie Bars
- Total Time: 45 minutes
- Yield: Approximately 16 servings 1x
Description
Key Lime Pie Bars are the perfect blend of tangy and sweet, capturing the essence of summer in every bite. With a buttery graham cracker crust and a luscious key lime filling, these bars are a delightful treat for any occasion. Whether you’re hosting a summer barbecue or simply want to brighten your day, these easy-to-make bars will impress friends and family alike. Chill them for a refreshing dessert that promises to leave everyone craving more.
Ingredients
- 1 ½ cups graham cracker crumbs
- ½ cup unsalted butter, melted
- ⅓ cup granulated sugar
- ½ cup fresh key lime juice
- 14 oz sweetened condensed milk
- 2 large eggs
- Zest of 2 key limes
Instructions
- Preheat oven to 350°F (175°C) and line an 8×8-inch baking dish with parchment paper.
- In a medium bowl, mix graham cracker crumbs, melted butter, and sugar until sandy. Press firmly into the bottom of the prepared dish.
- Bake crust for about 10 minutes or until lightly golden.
- In another bowl, whisk together sweetened condensed milk, key lime juice, eggs, and zest until smooth.
- Pour the filling over the baked crust and spread evenly. Bake for an additional 15-20 minutes until slightly jiggly in the center.
- Cool completely at room temperature, then chill in the fridge for at least two hours before slicing.
- Prep Time: 15 minutes
- Cook Time: 30 minutes
- Category: Dessert
- Method: Baking
- Cuisine: American
Nutrition
- Serving Size: 1 bar (50g)
- Calories: 160
- Sugar: 15g
- Sodium: 70mg
- Fat: 9g
- Saturated Fat: 5g
- Unsaturated Fat: 4g
- Trans Fat: 0g
- Carbohydrates: 19g
- Fiber: <1g
- Protein: 2g
- Cholesterol: 40mg