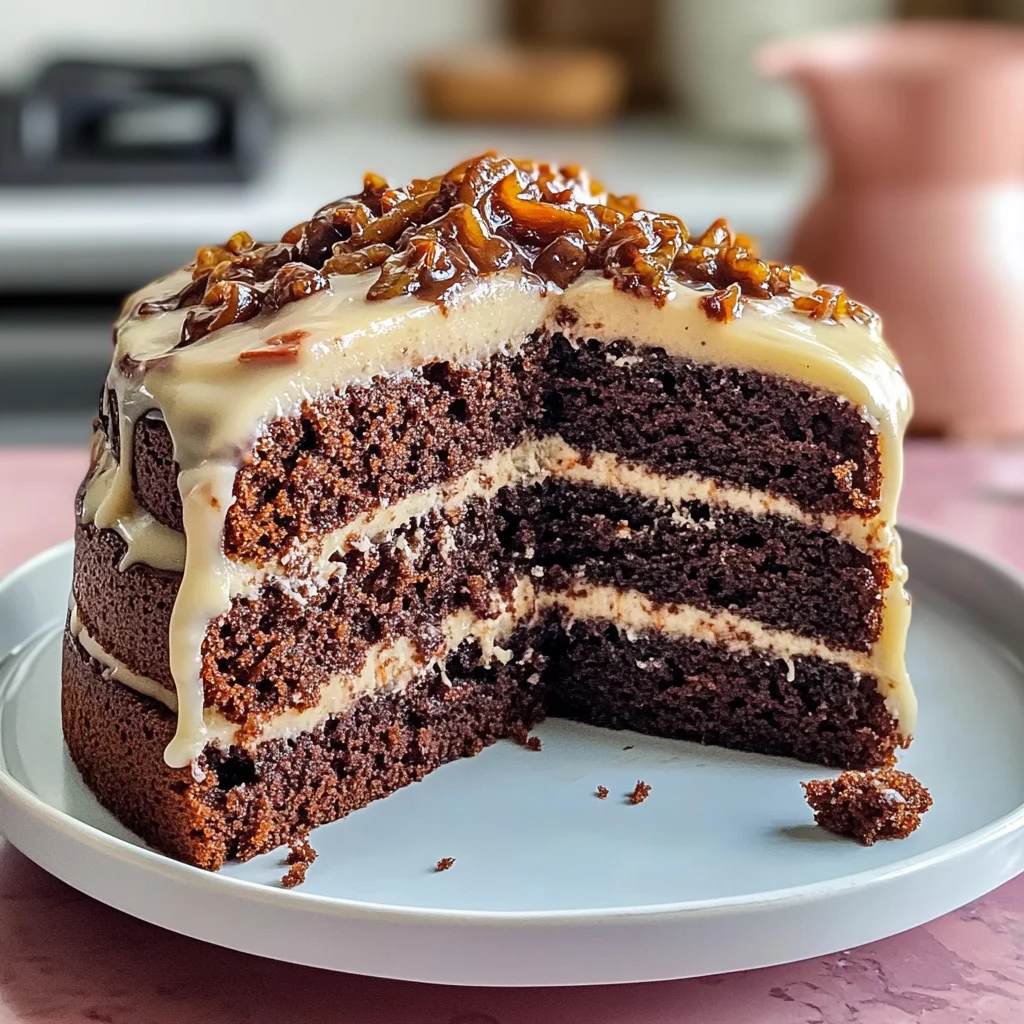
This irresistible Butterfinger Cake is the ultimate chocolate and peanut butter dessert obsession! A super moist dark chocolate poke cake is infused with rich sweetened condensed milk and warm golden caramel sauce, then topped with a cloud of fluffy peanut butter whipped topping and heaps of crunchy, shattered Butterfinger candy bars.
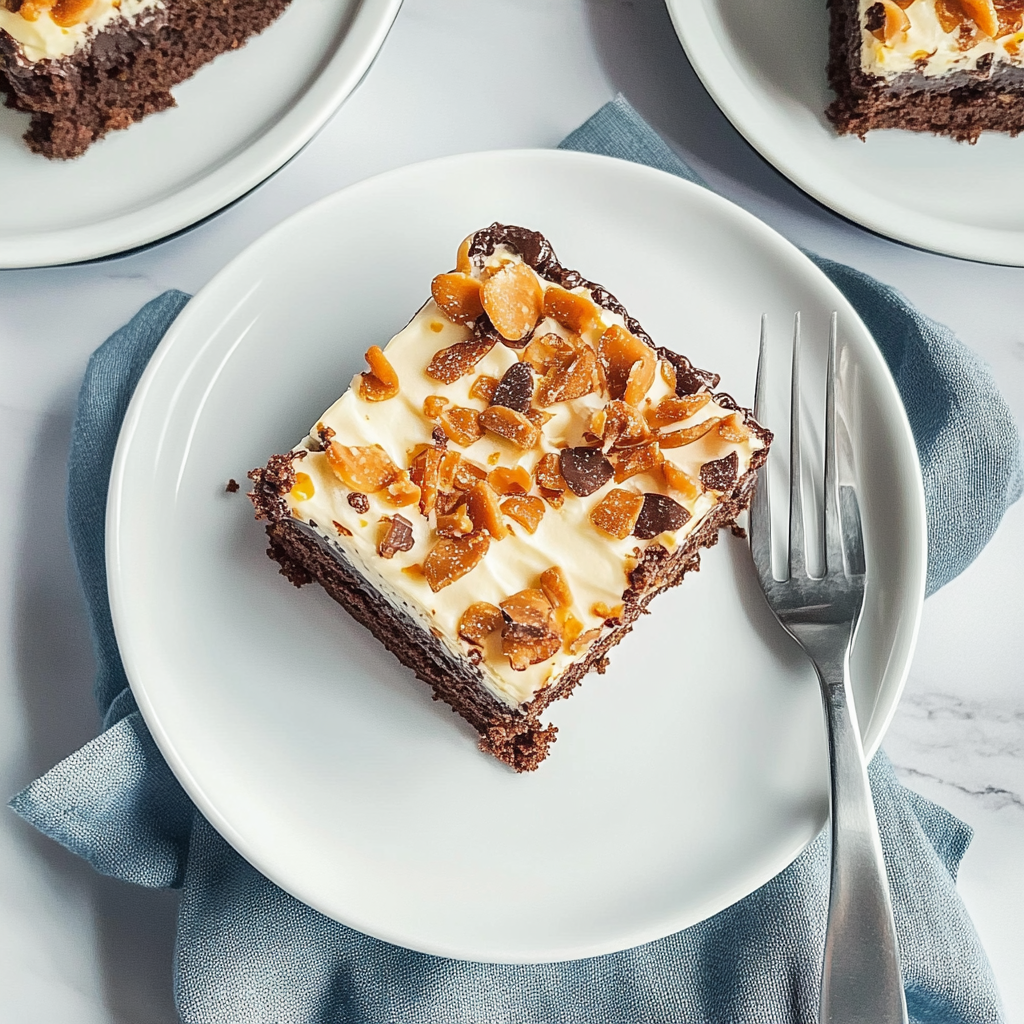
Every single bite is a dream combination of tender chocolate crumb, gooey caramel pockets, and crispy, flaky peanut butter candy crunch. Made effortlessly using a simple boxed cake mix shortcut, this 9×13-inch crowd-pleaser takes just 15 minutes of prep and is guaranteed to disappear at any potluck, party, or family celebration!
Why You'll Love This Recipe
- Incomparably moist & gooey: Sweetened condensed milk and caramel soak deep into the chocolate cake crumb for melt-in-your-mouth tenderness
- Shattered Butterfinger crunch: Loaded with over 2 cups of chopped candy bars for iconic crispy peanut butter texture
- Easy 9×13 poke cake: Simple cake mix shortcut makes preparation effortless and foolproof for bakers of all skill levels
- Make-ahead friendly: Tastes even richer and fudgier after chilling in the refrigerator overnight!
If you love showstopping dessert bars and cakes like our Carmelitas and our Sticky Toffee Pudding Cookies, this decadent Butterfinger poke cake is an absolute must-bake.
Key Ingredients & Smart Substitutions
Here are the simple ingredients you’ll need:
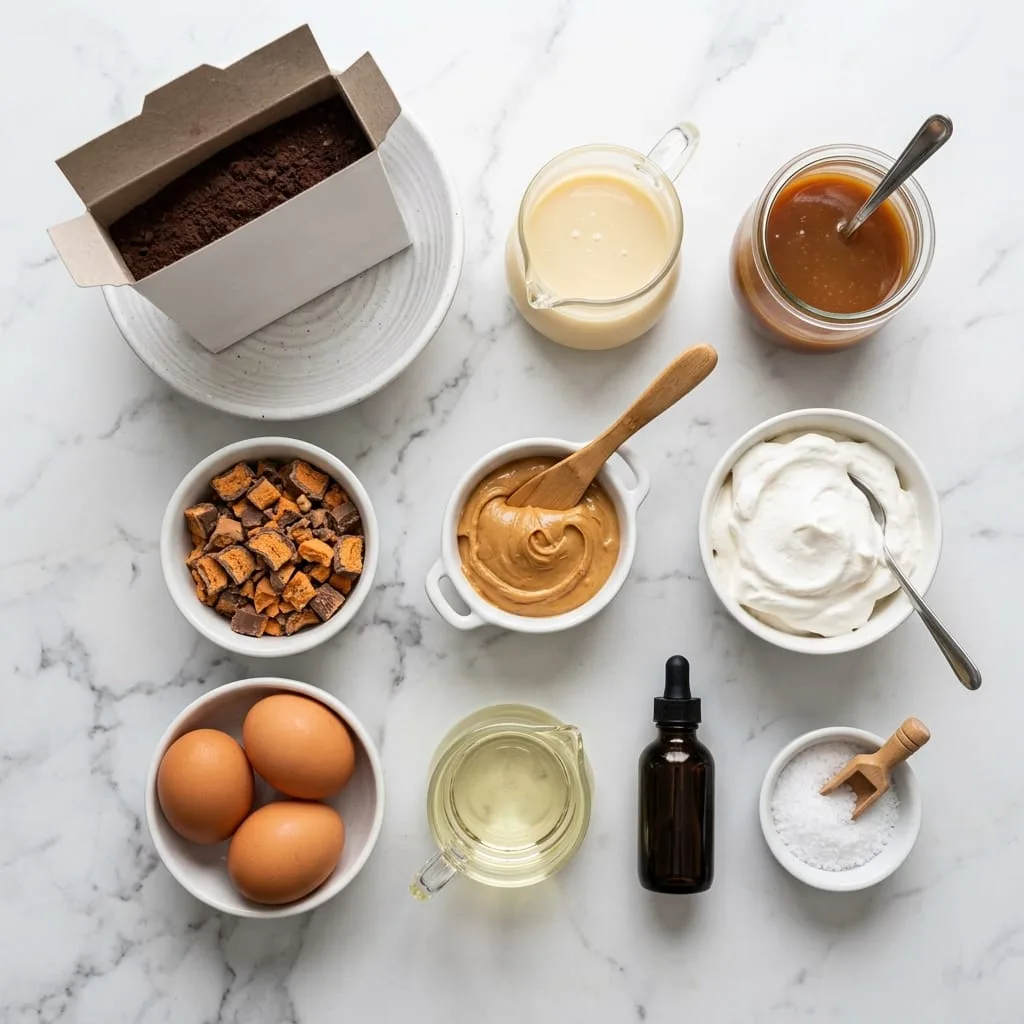
- Chocolate Cake Mix: 1 box (15.25 oz) Devil’s Food or Triple Chocolate cake mix (plus eggs, oil, and water per box instructions).
- Sweetened Condensed Milk: 1 can (14 oz) full-fat sweetened condensed milk (creates that signature ultra-moist poke cake soak).
- Caramel Sauce: 1 jar (12 oz) thick caramel ice cream topping or dulce de leche.
- Butterfinger Candy Bars: 6 standard size Butterfinger bars (or 2 cups fun-size bars), coarsely chopped and crushed.
- Peanut Butter: 1/3 cup creamy peanut butter (warmed slightly to blend into the topping).
- Whipped Topping: 1 tub (8 oz) Cool Whip (thawed) or 3 cups freshly whipped heavy cream.
How to Make Butterfinger Cake (Step-by-Step)
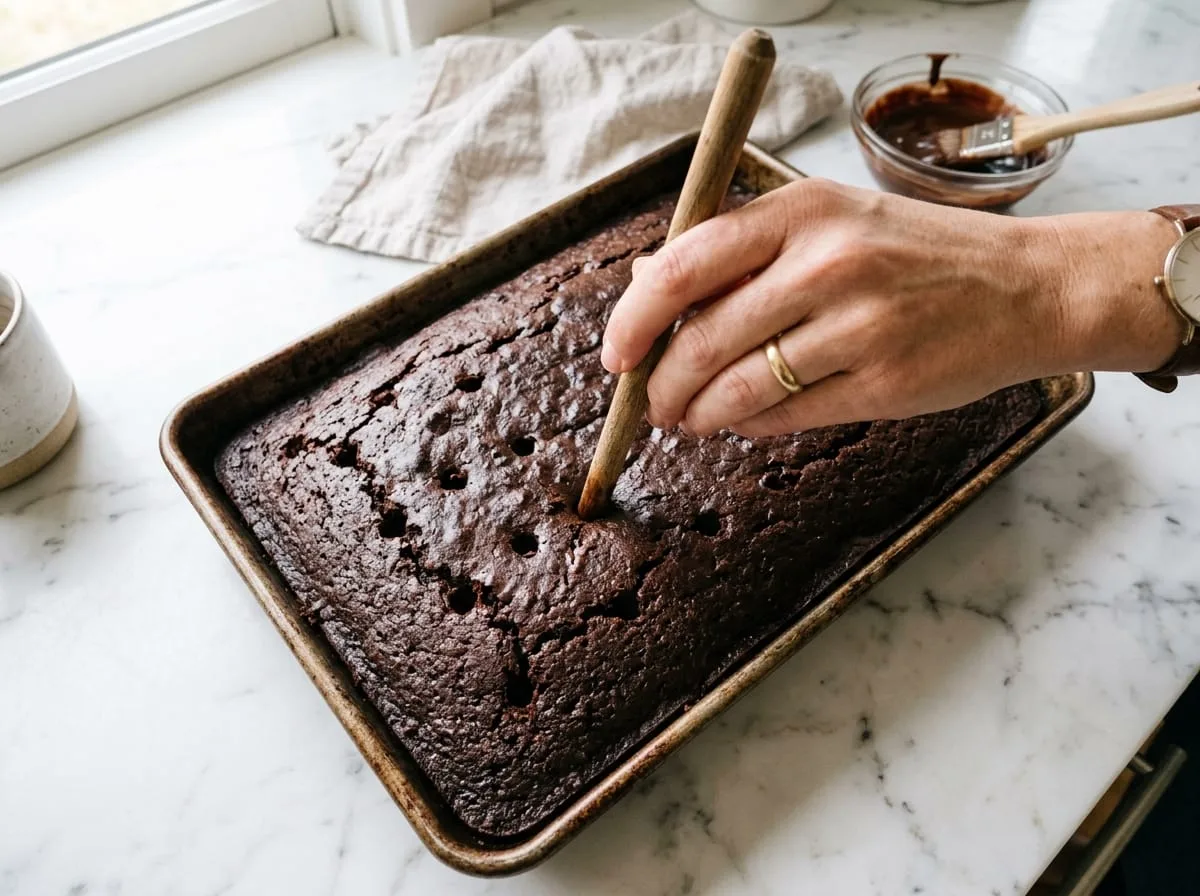
1. Bake & Poke the Cake: Preheat your oven to 350°F (175°C). Grease a 9×13-inch baking dish. Prepare and bake the chocolate cake mix according to package directions. Remove from oven and let rest for 5 minutes. Using the round handle of a wooden spoon, poke evenly spaced holes all over the warm cake, pressing about two-thirds of the way down.
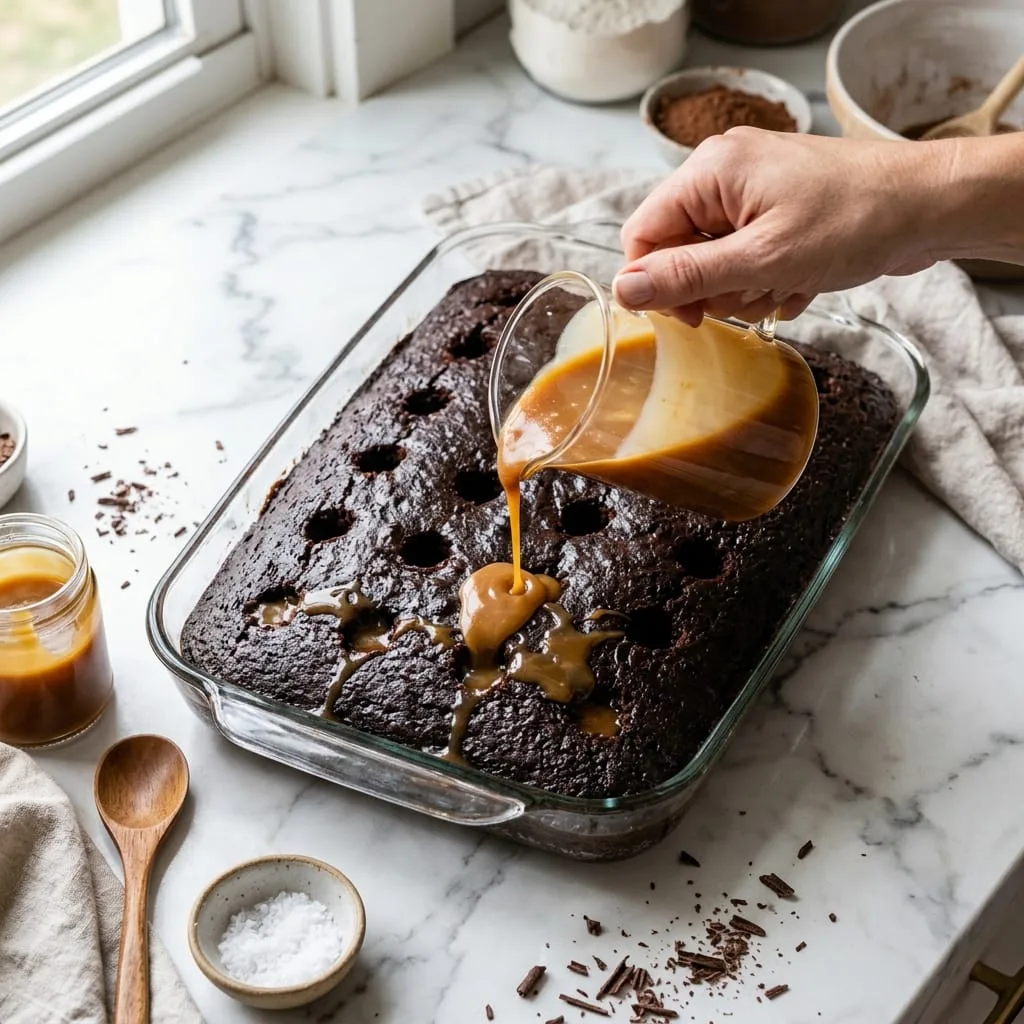
2. Pour Condensed Milk & Caramel: Slowly pour the entire can of sweetened condensed milk evenly over the warm cake, guiding it into the holes. Immediately follow by pouring 1 cup of warm caramel sauce over the top. Let the cake cool completely at room temperature for 1 hour, then chill in the fridge for 30 minutes so the liquid absorbs fully.
3. Layer Whipped Topping & Butterfingers: In a medium bowl, fold the warmed creamy peanut butter into the thawed whipped topping until smooth and fluffy. Spread the peanut butter whipped topping evenly over the cooled cake. Scatter the chopped Butterfinger candy chunks generously over the entire top.
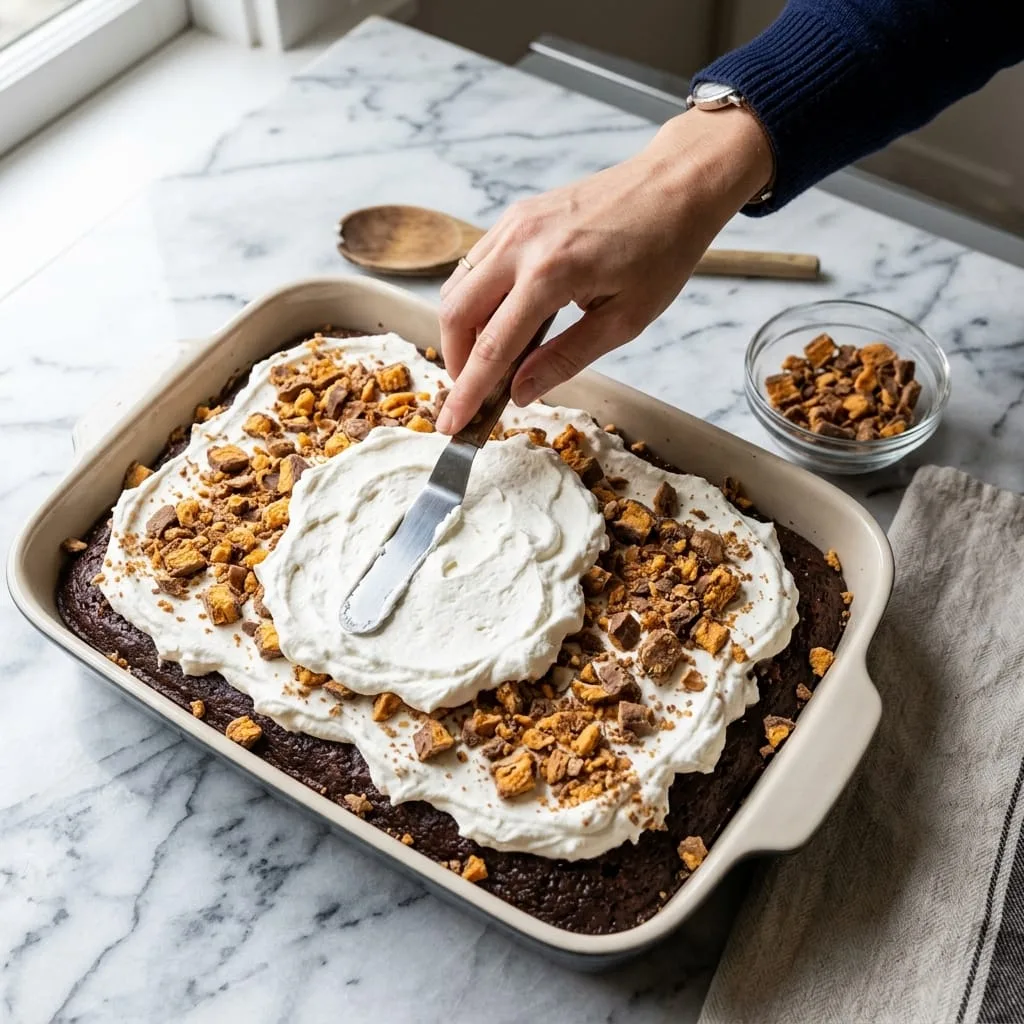
4. Chill, Slice & Serve: Drizzle with any remaining caramel sauce. Refrigerate for at least 2 hours before slicing to allow the cake to set into clean, neat squares. Serve chilled and enjoy the crispy, chocolate-peanut-butter bliss!
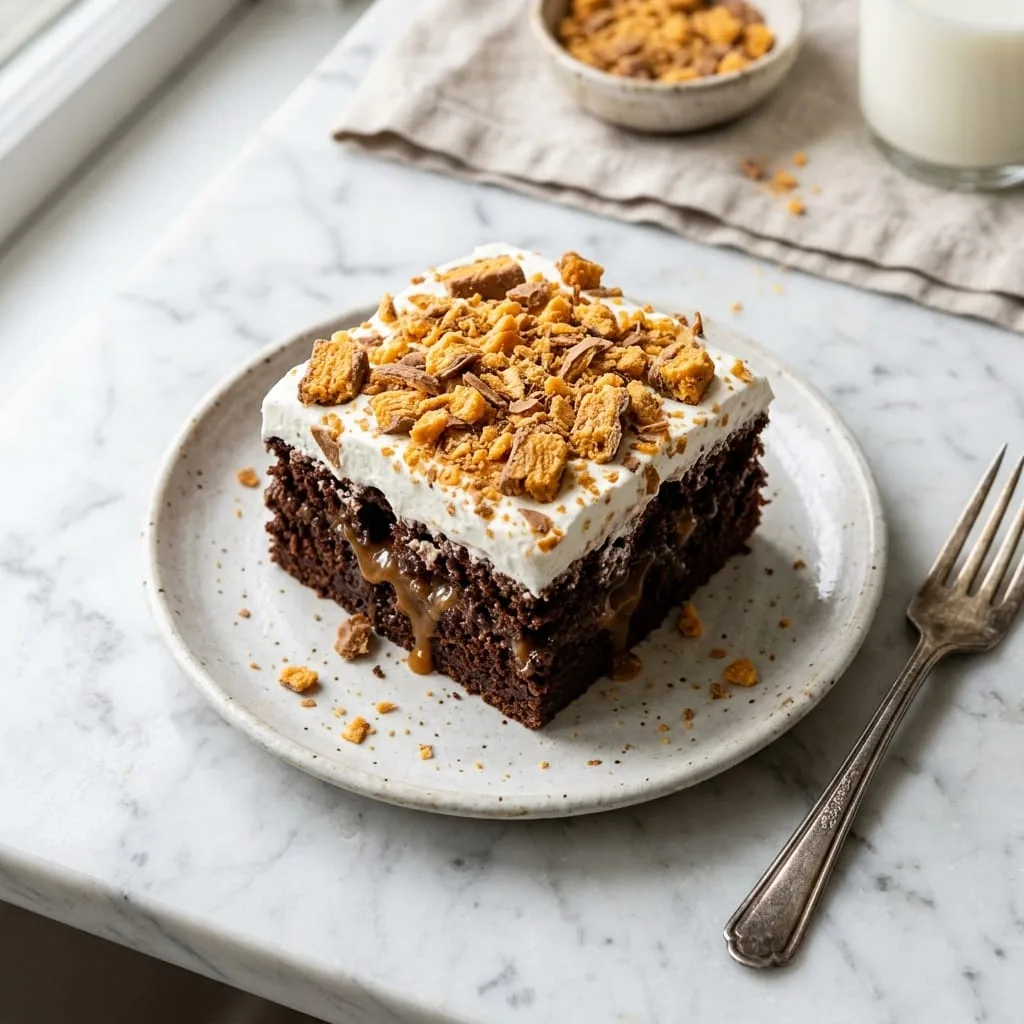
Chef's Secret for Ultra-Moist Poke Cakes
- Poke while warm: Poking the cake while it is still warm allows the sweetened condensed milk and caramel to soak deeply into every crumb instead of sitting on top
- Chill before topping: Always make sure the cake is completely cooled before spreading the whipped topping so it doesn’t melt!
Variations & Add-ins
- Reese’s Peanut Butter Cup Cake: Swap Butterfingers for chopped mini peanut butter cups.
- Heath Bar / Toffee Crunch: Use chopped chocolate-covered toffee bars for rich buttery toffee flavor.
- Hot Fudge Drizzle: Drizzle warm hot fudge sauce alongside the caramel over the top before serving.
Storage & Make-Ahead Instructions
To Store: Cover the baking pan tightly with foil or plastic wrap. Store in the refrigerator for up to 5 days. The candy topping stays surprisingly crispy for the first 48 hours!
To Make Ahead: Bake and poke the cake, pour the condensed milk and caramel, and refrigerate overnight. Add the whipped topping and Butterfinger crunch a few hours before serving for maximum crispness.
Frequently Asked Questions
Can I make this from scratch without a boxed mix?
Yes! Use your favorite homemade 9×13 buttermilk chocolate cake recipe as the base.
Can I use real whipped cream instead of Cool Whip?
Yes, whip 1.5 cups of heavy whipping cream with 1/3 cup powdered sugar, 1 tsp vanilla, and fold in the peanut butter.
More Decadent Party Desserts to Savor Next
- Sticky Toffee Pudding Cookies — Gourmet stuffed date cookies with molten toffee core.
- Carmelitas — Chewy salted caramel chocolate oat dessert bars.
- Pumpkin Gooey Butter Cake — Decadent St. Louis-style pumpkin bars.
Butterfinger Cake
- Total Time: 45 minutes
- Yield: 15 servings 1x
Description
Butterfinger Cake is an indulgent dessert that brings together the rich flavors of chocolate and the delightful crunch of Butterfinger candy. This easy-to-make cake is perfect for any occasion, from family gatherings to a cozy night in. Each slice promises a melt-in-your-mouth experience topped with creamy frosting and a sprinkle of crushed Butterfinger bars, making it a crowd-pleaser that’s sure to elicit smiles all around.
Ingredients
- 1 box (15.25 oz) Devil’s Food or Chocolate cake mix (plus eggs, oil, water per package)
- 1 can (14 oz) sweetened condensed milk
- 1 jar (12 oz) caramel topping sauce
- 6 full-size Butterfinger candy bars (about 2 cups), coarsely chopped
- 1/3 cup creamy peanut butter
- 1 tub (8 oz) whipped topping (Cool Whip), thawed
Instructions
- Bake & Poke: Bake chocolate cake in a 9×13-inch pan per box instructions. Poke holes all over warm cake with the round handle of a wooden spoon.
- Infuse with Caramel: Pour sweetened condensed milk and caramel sauce evenly over cake holes. Cool completely, then chill in fridge.
- Top with Butterfingers: Fold peanut butter into whipped topping. Spread over cooled cake and scatter chopped Butterfinger chunks across the top.
- Chill & Serve: Chill for 2 hours, slice into squares, and enjoy the crispy chocolate peanut butter bliss!
- Prep Time: 15 minutes
- Cook Time: 30 minutes
- Category: Dessert
- Method: Baking
- Cuisine: American
Nutrition
- Serving Size: 1 serving
- Calories: 340
- Sugar: 32g
- Sodium: 320mg
- Fat: 18g
- Saturated Fat: 8g
- Unsaturated Fat: 10g
- Trans Fat: 0g
- Carbohydrates: 43g
- Fiber: 1g
- Protein: 3g
- Cholesterol: 45mg
 Mueller 10-in-1 Vegetable Chopper – Slice, Dice & Mince Effortlessly!