The vibrant red velvet cake pops bring together the rich flavors of chocolate and a touch of cream cheese, creating a treat that dances on your taste buds. Their delightful texture offers a satisfying bite and an explosion of sweetness, making them the perfect indulgence for any occasion.
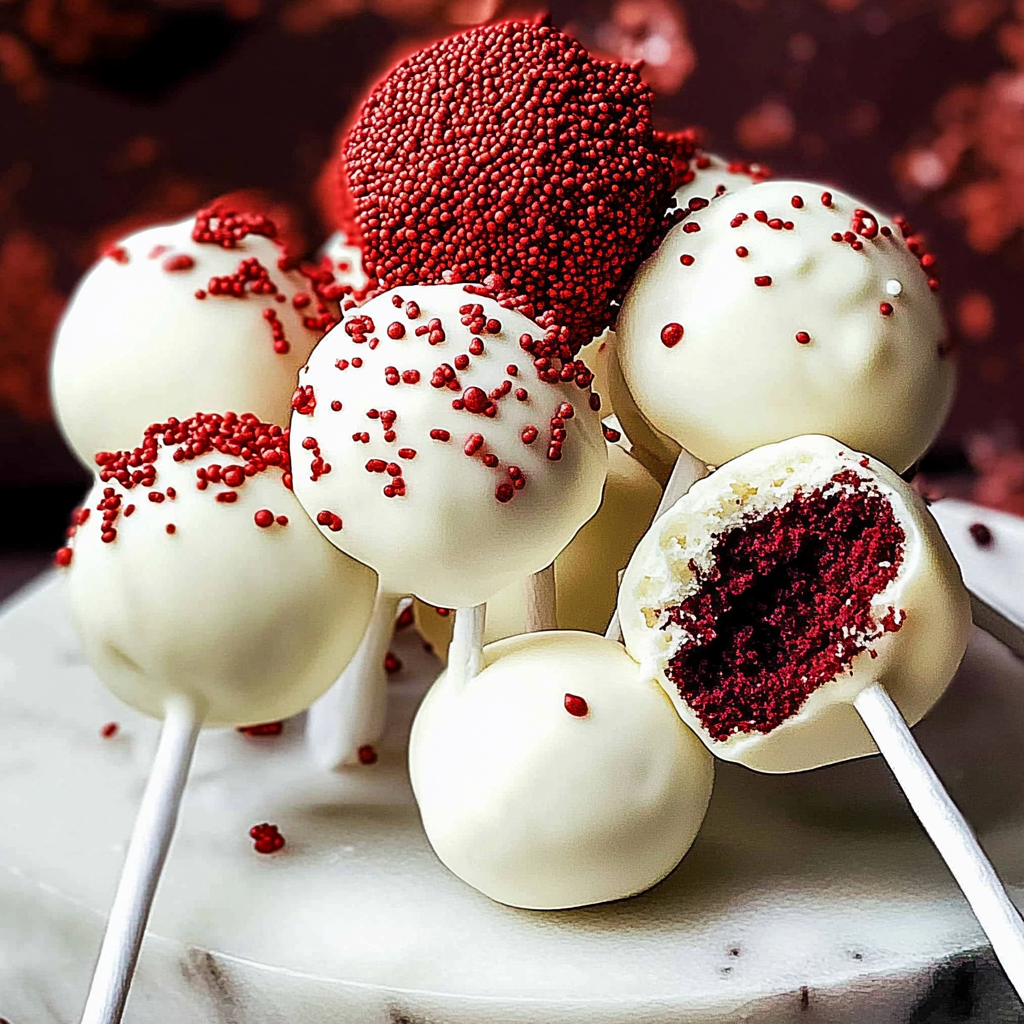
I vividly remember the first time I brought these little beauties to my friend’s birthday party; their bright hue had everyone talking. The anticipation of that first bite was palpable, with friends eagerly lining up for more.
Why You'll Love This Recipe
- These red velvet cake pops are quick to prepare and packed with flavor
- Their striking appearance will impress anyone at your next gathering
- They are versatile enough for any occasion, from birthdays to holidays or even just because you deserve a treat
- Plus, they make great gifts or party favors!
I once made these red velvet cake pops for my niece’s birthday, and the look on her face was priceless when she took her first bite.
Essential Ingredients
Here’s what you’ll need to make this delicious dish:
- Cake Mix: A box of red velvet cake mix simplifies everything, ensuring consistent flavor and texture without the fuss.
- Eggs: Use two large eggs to give your cake pops the necessary structure and moisture.
- Vegetable Oil: A half-cup of vegetable oil keeps the cake moist and adds richness to every bite.
- Water: You’ll need one cup of water to rehydrate the dry ingredients in your cake mix.
- Cream Cheese Frosting: One jar of store-bought cream cheese frosting will bind everything together beautifully and add that signature tangy flavor.
- Chocolate Coating: Choose red candy melts for an eye-catching finish or go classic with dark chocolate for a richer taste.
- Lollipop Sticks: Grab some sturdy lollipop sticks; they’ll be your trusty sidekicks in holding these adorable treats together.
The full ingredients list, including measurements, is provided in the recipe card directly below.
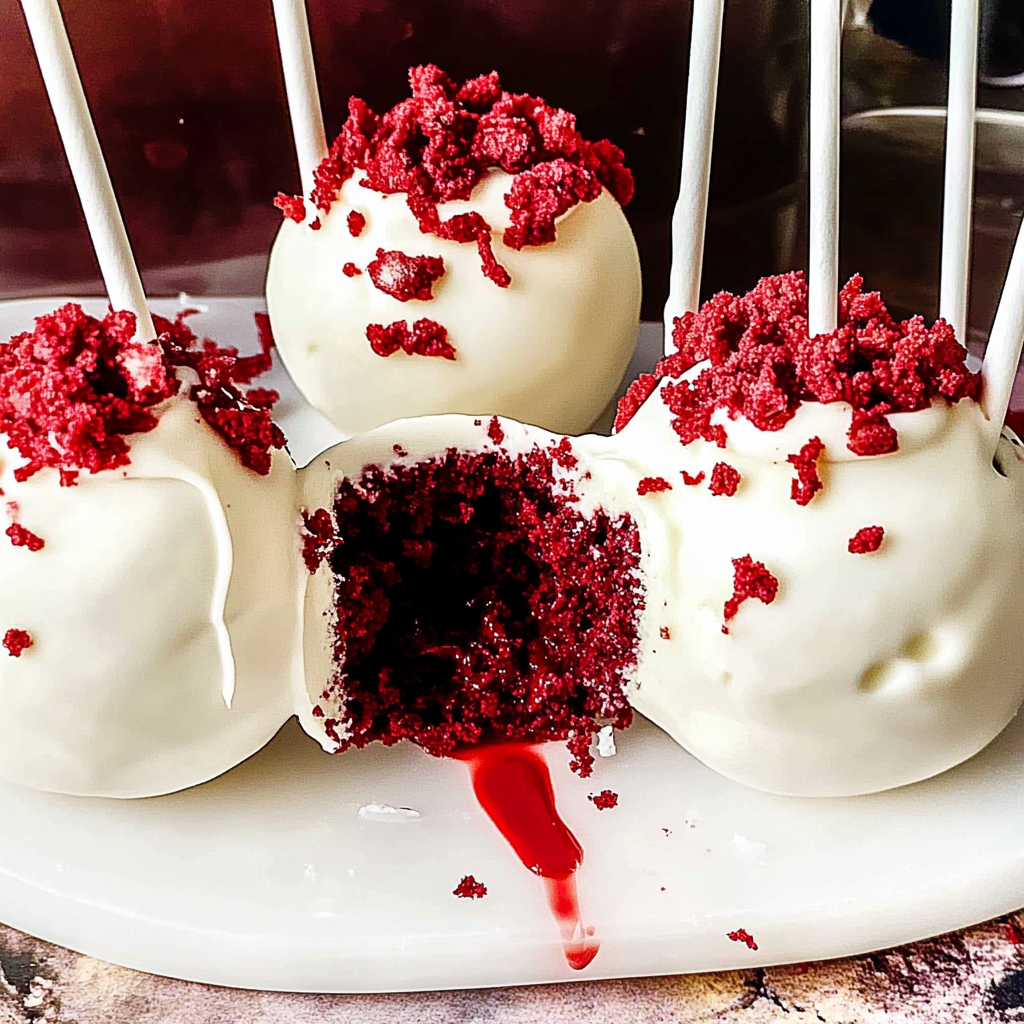
How to Make red velvet cake pops
Prepare Your Cake: Preheat your oven to 350°F (175°C) and grease a 9×13 inch baking pan. Combine the red velvet cake mix, water, eggs, and vegetable oil until smooth in a large bowl.
Bake the Cake: Pour the batter into the prepared pan and bake for 30-35 minutes until a toothpick comes out clean. Let it cool completely before handling.
Crumble the Cake: Once cool, crumble the cake into a large mixing bowl until it resembles fine crumbs. This is where all those sweet aromas come into play!
Add Frosting: Gently fold in half a jar of cream cheese frosting until fully combined. This mixture should be moist enough to form balls but not overly sticky.
Form Cake Balls: Roll heaping tablespoons of the mixture into balls about one inch in diameter. Place them on a baking sheet lined with parchment paper as you go.
Chill Cake Balls: Refrigerate the formed balls for at least 30 minutes until firm. This will help them hold their shape when you dip them later.
Melt Chocolate Coating: While waiting, melt your choice of candy melts or chocolate according to package instructions until smooth and glossy.
Dip Cake Pops: Insert lollipop sticks into each chilled ball and dip them into the melted chocolate until fully coated. Allow excess chocolate to drip off before placing them back on parchment paper.
Let Them Set: Allow your decorated cake pops to set at room temperature or refrigerate until firm. Enjoy this moment while dreaming up creative designs!
With their striking color and delectable flavor profile, these red velvet cake pops are sure to become a favorite among friends and family alike!
You Must Know
- Red velvet cake pops are not just delicious; they are a colorful treat that brings joy to any occasion
- Their moist texture, rich flavor, and eye-catching color make them a hit at parties and gatherings
- Don’t forget to have fun decorating them!
Perfecting the Cooking Process
Start by baking the red velvet cake according to the instructions, then let it cool completely before crumbling. Mix in frosting until the consistency is moldable, then shape into balls and chill before dipping.
Add Your Touch
Feel free to customize your red velvet cake pops with different coatings like white chocolate or sprinkles. You can also add flavors like peppermint extract for a seasonal twist that surprises your taste buds.
Storing & Reheating
Store leftover cake pops in an airtight container in the fridge for up to five days. If you want to freeze them, wrap each pop in plastic wrap before placing them in a freezer bag.
Chef's Helpful Tips
- For flawless red velvet cake pops, use high-quality cocoa powder for the best flavor
- Chill the shaped balls well before dipping them in chocolate to help maintain their shape
- Always allow melted chocolate to cool slightly before coating for a smooth finish
I once made these delightful red velvet cake pops for my niece’s birthday party, and they disappeared faster than I could say “sugar rush.” The look on her face when she took her first bite was priceless!
FAQ
Can I use a box mix for red velvet cake?
Yes, using a box mix saves time while still yielding delicious results for your cake pops.
How do I keep my cake pops from falling off the sticks?
Ensure the cake balls are well-chilled before inserting sticks, helping them stay intact during dipping.
What’s the best way to decorate my cake pops?
Experiment with various toppings like nuts, edible glitter, or colored drizzles for added flair and taste.

Delicious Red Velvet Cake Pops
- Total Time: 55 minutes
- Yield: Approximately 24 cake pops 1x
Description
Indulge in the delightful experience of red velvet cake pops, where rich chocolate meets tangy cream cheese. These eye-catching treats are perfect for any celebration, whether it’s a birthday, holiday, or just because you deserve a sweet treat. With their moist texture and vibrant color, they are sure to impress your friends and family.
Ingredients
- 1 box (15.25 oz) red velvet cake mix
- 2 large eggs
- 1/2 cup vegetable oil
- 1 cup water
- 1 jar (16 oz) cream cheese frosting
- 1 cup red candy melts (or dark chocolate)
- Lollipop sticks
Instructions
- Preheat oven to 350°F (175°C) and grease a 9×13 inch baking pan.
- In a large bowl, mix the red velvet cake mix, water, eggs, and vegetable oil until smooth.
- Pour batter into the prepared pan and bake for 30-35 minutes until a toothpick comes out clean. Let cool completely.
- Crumble the cooled cake into fine crumbs in a mixing bowl.
- Fold in half a jar of cream cheese frosting until fully combined and moldable.
- Roll mixture into 1-inch balls and place on parchment-lined baking sheet.
- Chill balls for at least 30 minutes to firm up.
- Melt candy melts or chocolate according to package instructions until smooth.
- Insert lollipop sticks into each ball, then dip in melted chocolate until fully coated. Allow excess to drip off before placing back on parchment paper.
- Let set at room temperature or refrigerate until firm.
- Prep Time: 20 minutes
- Cook Time: 35 minutes
- Category: Dessert
- Method: Baking
- Cuisine: American
Nutrition
- Serving Size: 1 serving
- Calories: 150
- Sugar: 14g
- Sodium: 65mg
- Fat: 8g
- Saturated Fat: 2g
- Unsaturated Fat: 5g
- Trans Fat: 0g
- Carbohydrates: 19g
- Fiber: <1g
- Protein: 2g
- Cholesterol: 20mg
 Mueller 10-in-1 Vegetable Chopper – Slice, Dice & Mince Effortlessly!